You might
also enjoy...
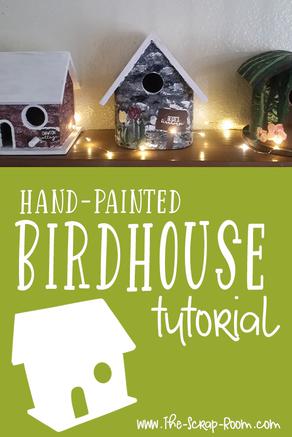
Hand Painted Birdhouses
A thoughtful, personalized present that won't break the bank!
These ADORABLE little birdhouses are so fun to paint! You can really customize them and make them personal. Paint something fun and whimsical, more life-like and realistic, in your school's colors, or a miniature version of the real thing! There are so many ways you can personalize them for just about ANYONE on your gift giving list! (Or just make one for yourself! They are *that* cute, right???)
I've painted over a dozen of them as gifts and recently made a new one for my mom while participating in this 30 Day Craft Challenge. I decided, since it was one of my favorite projects (I literally just added another set of houses to my Amazon shopping cart) that it was high time I SHARED this awesome project, so you can enjoy it too!
If you enjoyed my tutorial or found value in it, I'd appreciate it if you gave it a little love on social media!
Disclaimer: Please note that some of the links in this post may be affiliate links or ads. There is no additional cost to you, but The Scrap Room will earn a small commission should you choose to purchase through those links. Click here for my full disclaimer. Thank you for your support.


Since it's so easy to personalize these birdhouses, they are great to keep on hand for any last minute gifts you need! You can easily paint one in an afternoon or evening, seal it the next morning, and be ready to share it about a day later. (The sealer will dry quickly but will still smell for several hours.)
This project is great for all ages! A fun afternoon activity for the kids, a craft project for seniors, these bird houses will bring smiles to faces, and once they're done, they'll bring even more happiness! Not only will they look adorable out on display, they are usable birdhouses, so you might find some feathered friends to enjoy them!
Ready to get started?
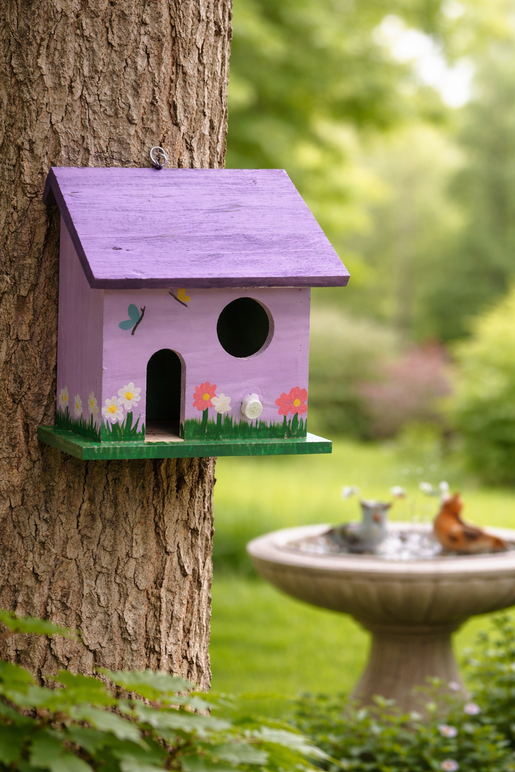
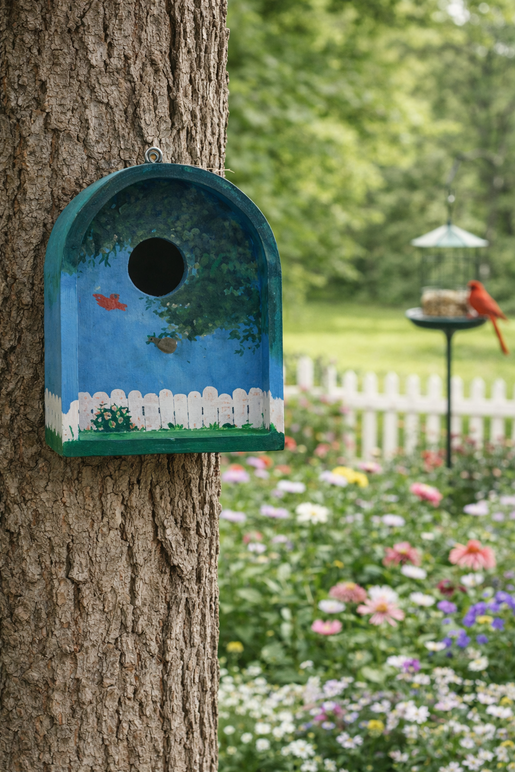
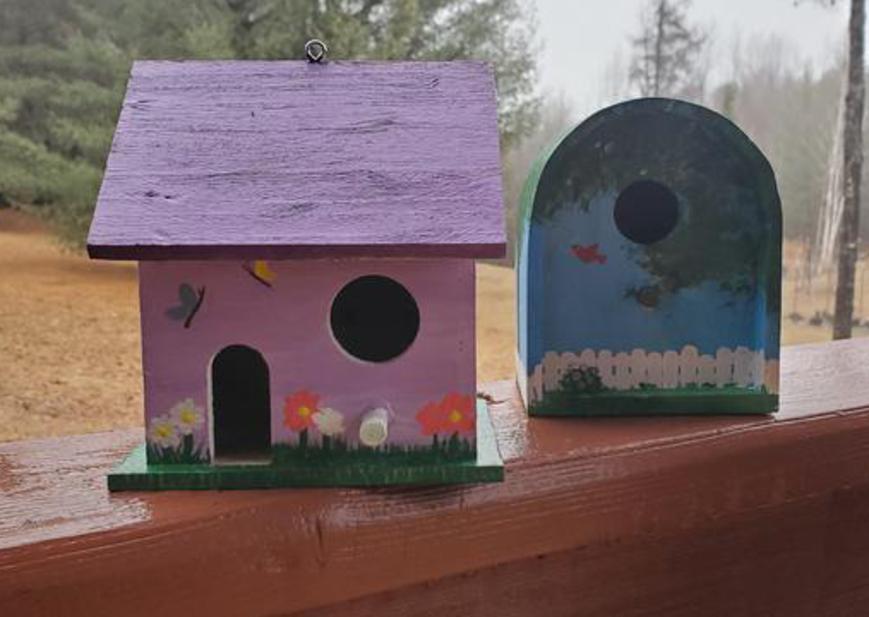
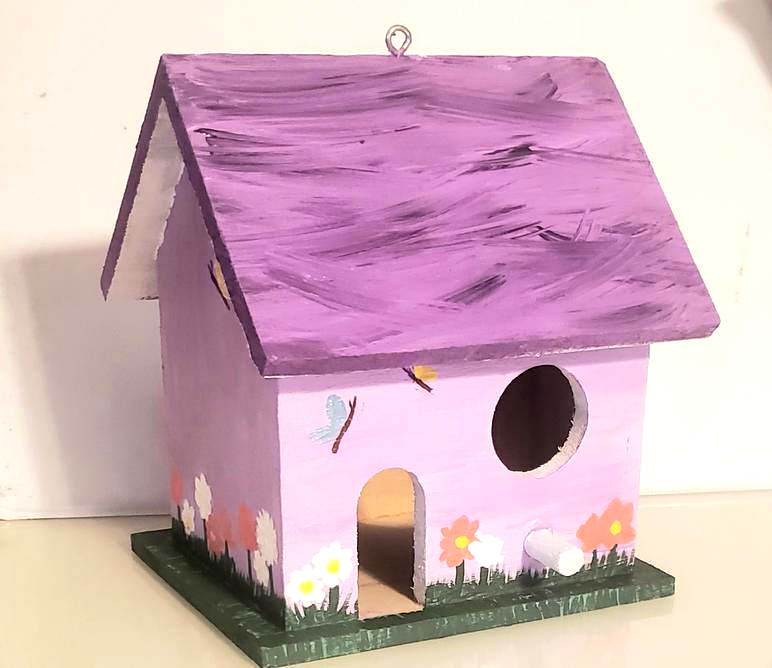
I painted the birdhouse with the trees and Cardinal on it, as well as the purple house with the butterflies and flowers, for my mother and stepfather. They live in Michigan and are surrounded by the most beautiful trees at their house! Cardinals also stop by from time to time (which I do not get to see in Washington) so I wanted to be sure to put one of those on there too.
This is such a fun project to do, and definitely needs to be on your "Make" list! Bookmark this page if you haven't already, or save it for later on Pinterest. Then pick up some unpainted birdhouses and get ready to get your PAINTING on!
Share your painted designs in our Facebook group DIY Projects and Craft Chat, here, and checkout what everyone else has been making!
SUPPLIES FOR THIS PROJECT:
-Wooden Birdhouses to paint (This is the set that I bought (x3) )
-Non-Toxic Acrylic paint (MUST BE NON-TOXIC PAINT)
-Paint Brushes
You'll want a variety for your project -- some I found really helpful were rake or wisp brushes, a fan brush, some round tip brushes, filbert brushes, a large flat brush and a large angle brush. Here's a good variety set that will serve you well!
Optional supplies for HANGING:
-Small metal eyelet screws (size depending on the house you use. I used the smallest size in *this* assortment)
-Hammer (just to start the hole for the eyelet above)
-Needle Nosed Pliers (to twist the eyelet in)
OR
Drill and a couple large screws - If you're using a large drill, you may need an extender to reach in through the birdhouse hole to the back of the house to attach it to a tree or post.
There really aren't a lot of "Steps" for this project. Basically: Paint, add eyelet (optional - for hanging it), seal, and hang. But I'll share with you some of the things I learned in making 18 of these to share with my family and friends!
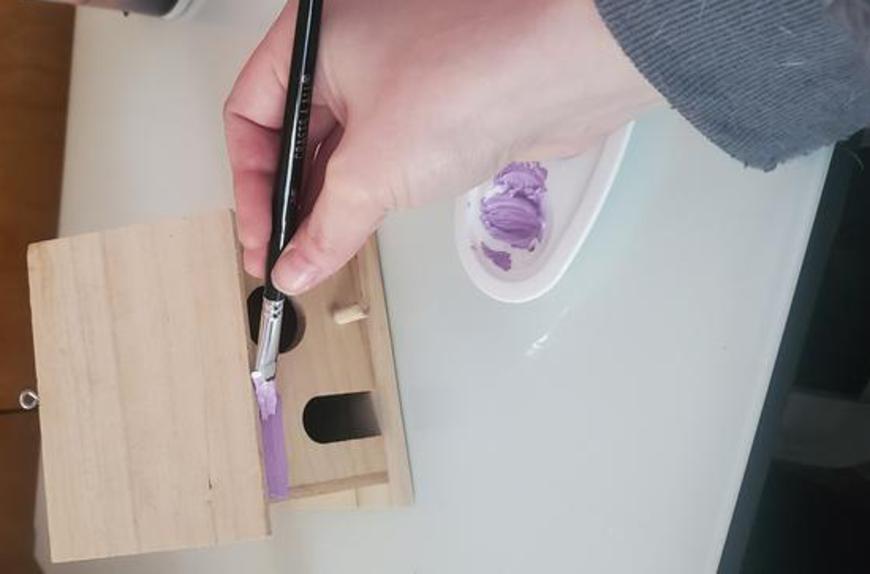
Workspace:
I actually did a lot of the painting for these birdhouses while sitting on the floor, watching movies in my living room. Because I didn't want to haul around a bulky table, paper to protect it, and a chair, and since I only had a few lightweight supplies for this project, I set up on a large, assembled, cardboard box. (That I then used to fill with stuff to put in storage. So now my garage feels more fun too! lol!)
Adding the Eyelets:
You can chose to use, or not use, eyelets to hang your birdhouses. (They could also be attached to a tree or post with a screw, through the entry hole of the house, or simply set out on display if not being used for birds outside.)
I bought this set of eyelets, because I wasn't *really* sure what size I'd need, and I knew I'd use them for LOTS of projects down the road; they look like a handy thing to have on hand. #CraftSupplyHoarder
To add one to your birdhouse, you can simply hold it where you want it and tap it gently with a small hammer to start it, then twist it in with the needle nosed pliers. (You could also use a small drill to create a pilot hole, but these birdhouses are lightweight and it's pretty easy to do by hand.
The Paint & Brushes:
Please ONLY USE NON-TOXIC PAINT for this project. That way, if a bird, or a cute little squirrel finds it and chews a bigger front door, they won't get sick. (Not to mention, YOU won't be working with toxic materials either.) This is the paint that I recommend. The colors are nice and bright, and it's safe for kids to use.
I started by giving each house a nice solid base coat, then added layers of detail over the top. Remember to cover ALL areas of the exposed wood. This will help to protect the wood when it's outside! When you've finished painting the visible parts of the house, don't forget to flip it over and paint the bottom as well!
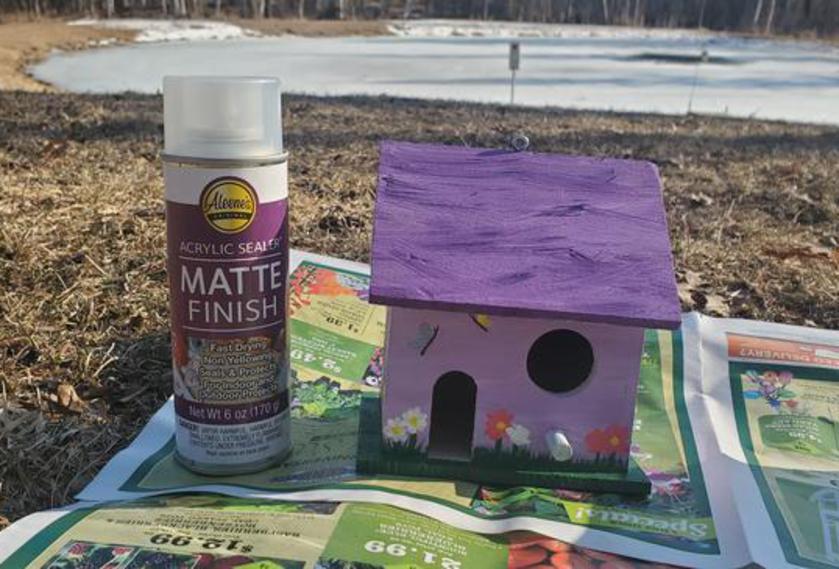
Use a rough edged RAKE OR WISP BRUSH, like the one in this set, to get the thatched looking roof and grass like on this whimsical purple house below. It's a great brush to use for all kinds of textures and details, much like a fan brush (which is also included in this set).
I'm *definitely* not a skilled painter, otherwise I'd give you a detailed step by step of my painting. I had to re-paint over more areas than I'd like to admit lol! The trees were easier than they look! I used a large round tip brush to make the trunks of the trees and a fan brush to dab on the leaves. I used a small filbert brush for all of the white picket fence slats (just draw two, thin parallel lines for the length of the fence, then just paint the wood slats one-by-one over the op), small round brushes for the flowers and tiny brushes for the little details like birds, butterflies, and other animals.
If you're not an experienced painter, don't worry! Just paint something very simple -- and don't give up on it part way through! I almost QUIT on a couple of mine that I didn't think looked good, but in the end I LOVED how they came out! Remember, if you don't like something you painted, you can paint over it once it's dried. So have faith! Sometimes you have to build up layers (that may look funny by themselves) before they look good as a whole! Think of your artwork in a more 3D sense, and look for simple shapes that you can put together to create the end object.
I really loved how the trees and the white picket fence turned out on my mom's, so I made one for a neighbor that started out similar...
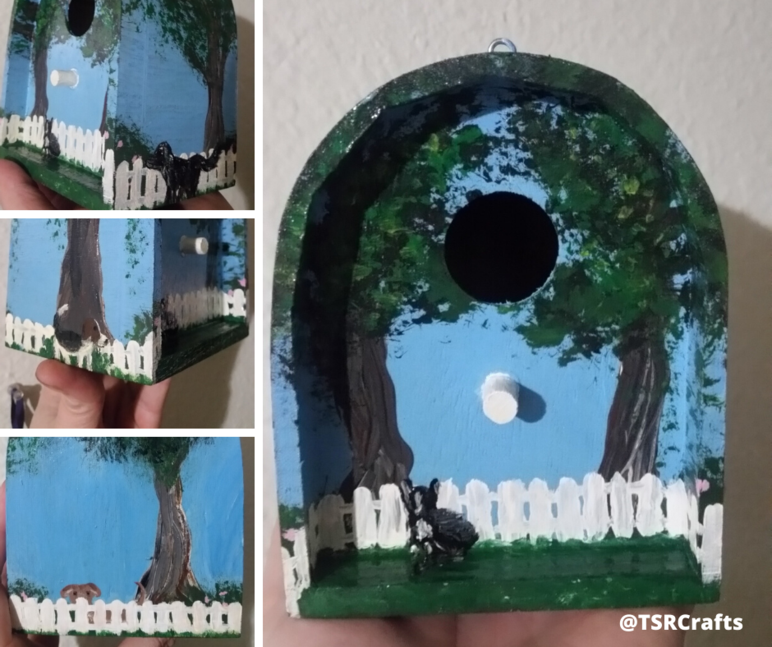
but then I painted on her three pets, CJ, Jack and Binx -- a perfect way to personalize it! She loved it so much, and asked me if I could add my pooch too, since she's always peeking into their yard. I added Chessy in on the backside peering over, so she's got fur babies on EVERY side! 💗
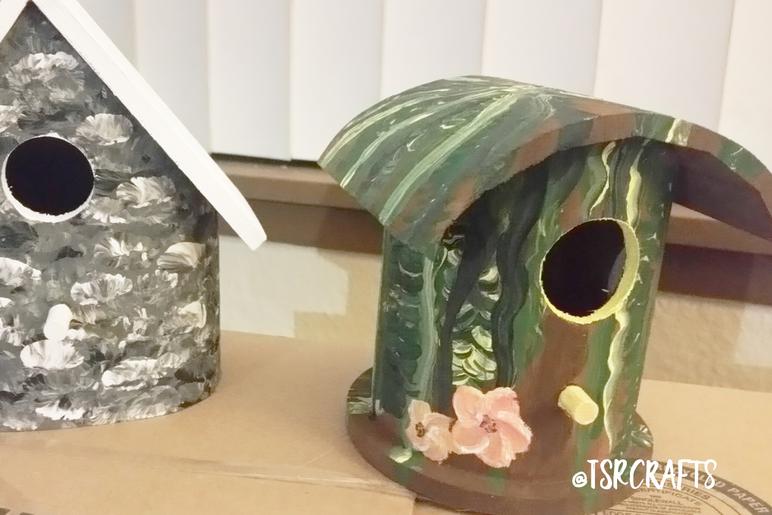
I painted this birdhouse for my Dad and Stepmom. They live down in Florida and their trees are so lush and green! I just LOVE the Spanish moss down there! So I create a more tropical birdhouse for them. It kind of has a Swiss Family Robinson style tree house vibe. I love the vines and moss draping down! I added a few flowers for some extra pops of color!
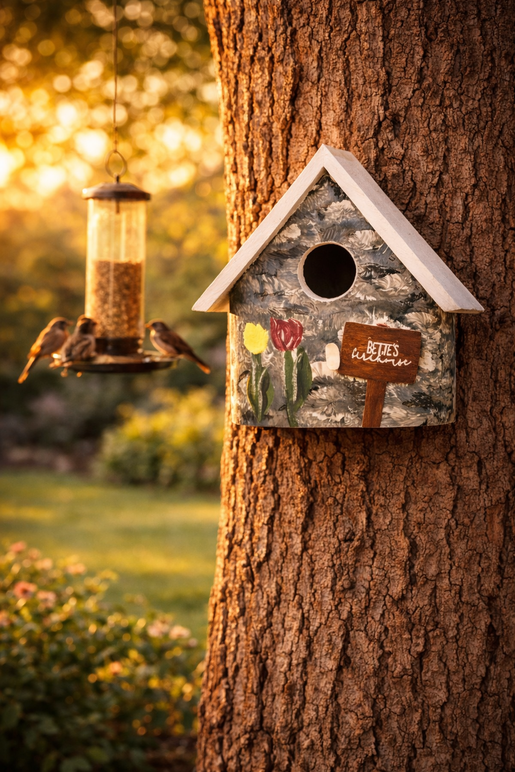
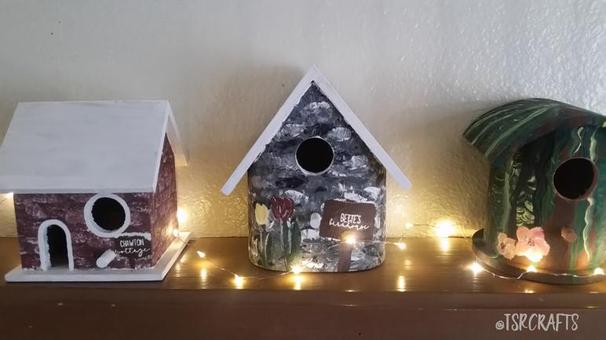
I was able to paint several at a time, since there are times where you are waiting for paint to dry. Above you can get a better idea of how I did the bricks on "Bette's birdhouse". I used a large flat brush, lots of paint, and just kind of blopped it on to look like bricks. I used white, black and grey paints for the bricks, starting with the white, then adding the black bricks, then the grey, and then I went back over with another layer of white. I specifically didn't want a very "defined" pattern on this one. For a more defined brick pattern, see my Chawton Cottage house near the bottom of this page. To do the detail sign on Bette's house, I created my own stencil SVG design, and cut it out in vinyl so I could paint over it, let it dry, removed it, and have nice, crisp, TINY letters.

You really can do SO much with these blank canvases! My mom and I have decided that we love them so much that we picked out an old oak tree right by her back porch and we are going to start hanging a collection of houses there. (Hence why I'm picking up some more to paint!)
Hopefully the grandkids can go for a visit soon and paint one to add to the tree! What a fun memory *that* will be to make! 💗💗💗
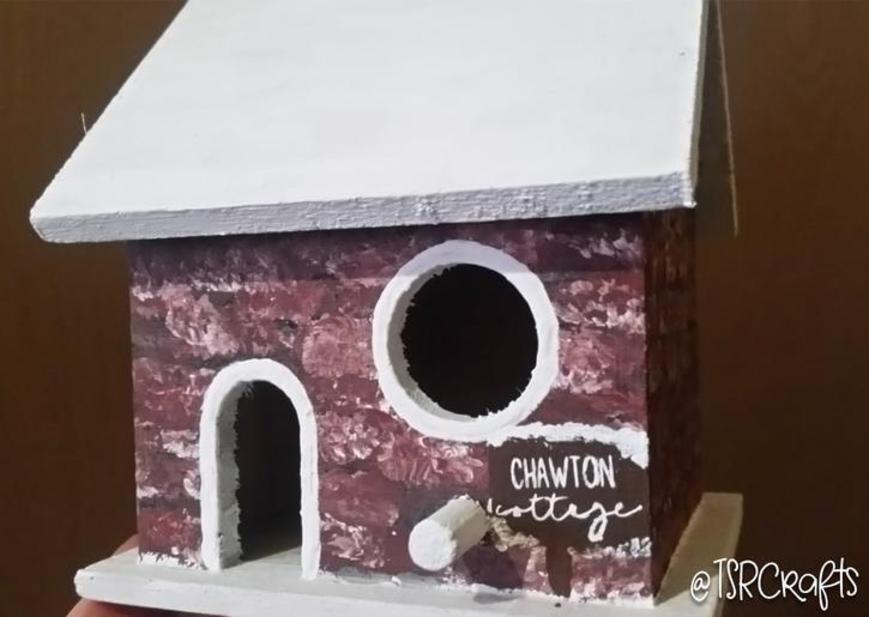
Out of all the houses that I've painted though, I have to say that my all time favorite was the Chawton Cottage birdhouse that I painted for my sister. (I actually like it *SO MUCH* I'm planning to make a copy for myself!) For those of you who Aren't familiar with Chawton cottage, it is the place that Jane Austen lived and wrote at, near the end of her life. And me and my sister LOVE Jane Austen. So I thought it would be fun to make something personalized for her, that would make her think of both me and Jane, every time she sees it. It may not be a perfect replica, but I do think that Jane would approve!
Once you've finished painting all your birdhouses, DON'T FORGET TO SEAL THEM with a high quality NON-YELLOWING spray (outside in a well ventilated area).
I used Aleene's Acrylic Sealer in a Matte finish to protect mine. It worked well, and I'd really recommend it. I checked up on some of the houses I painted over a year later and STILL NO YELLOWING! (It would be HORRIBLE to spend all that time painting your houses, only to have them turn yellow, so make sure you buy a high quality sealer like this one!
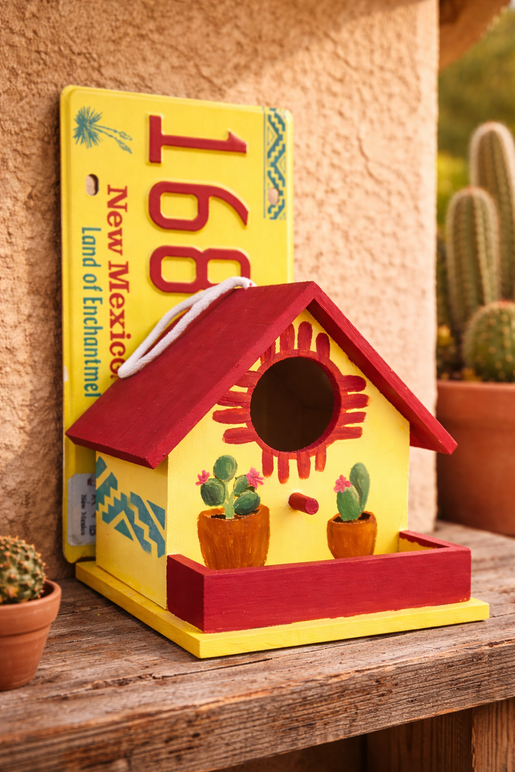
Here's a quick Reel over on Instagram that I shared of the Keepsake birdhouse I made for my mom using her sister's license plate. I digitized part of the design off the license plate, turned it into an SVG, cut the design from vinyl, and used it as a stencil to paint the design from the license plate onto the birdhouse. If you're on Instagram, be sure to follow our page!