How to Upgrade Your Die Cuts: 13 Creative Ways to Make Them Pop
Take Your Paper Die Cuts to the Next Level with These Easy Techniques
Disclaimer: Please note that some of the links in this post may be affiliate links or ads. There is no additional cost to you, but The Scrap Room will earn a small commission should you choose to purchase through those links. Click here for my full disclaimer. Thank you for your support.
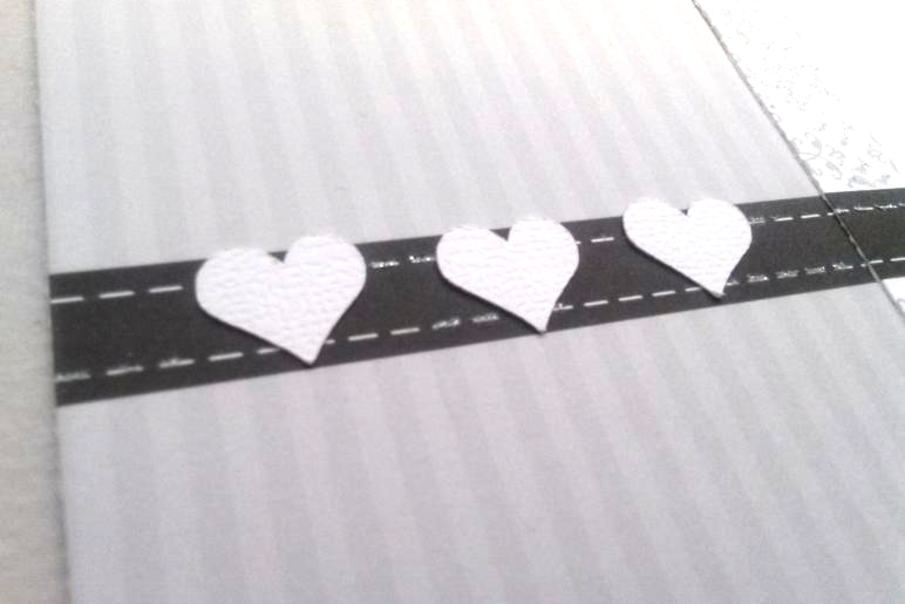
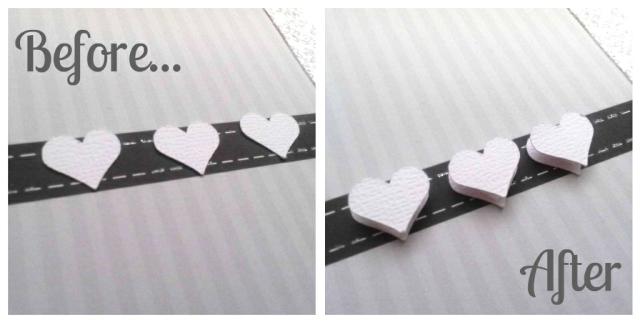
2. Add Foam Tape for Instant Dimension
One of the quickest and easiest ways to make a die cut look more polished is to add a little dimension with foam adhesive pieces or tape.
Instead of adhering your die cut directly to the page, place small pieces of foam tape behind it to lift it slightly off the surface. This creates subtle shadows that add depth and help the die cut stand out from the background. Foam tape works especially well when combined with layered embellishments, labels, tickets, or paper scraps, allowing you to build beautiful focal points that draw the eye. Even a simple die cut can look far more detailed and professional with just a little added dimension.
For even more depth, try tucking a few coordinating embellishments behind your raised die cuts before adhering them to your project.

Die cuts are one of the easiest ways to decorate scrapbook layouts, junk journals, handmade cards, and paper crafting projects. But sometimes they can look a little flat or unfinished when used by themselves.
The good news is that a few simple techniques can completely transform even the most basic die cut.
In this guide I'll show you 13 easy ways to add depth, texture, dimension, and detail to your die cuts so they become beautiful focal points in your paper crafting projects.
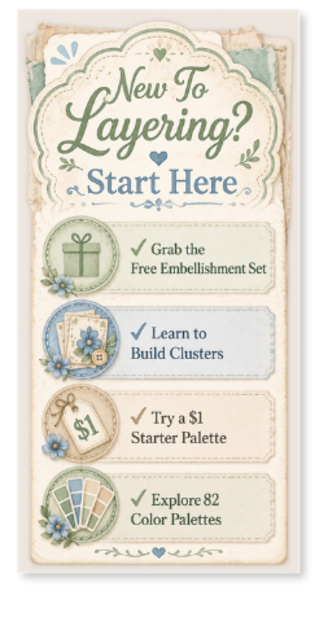
Plus, I've included a free printable embellishment set you can use to start layering immediately.

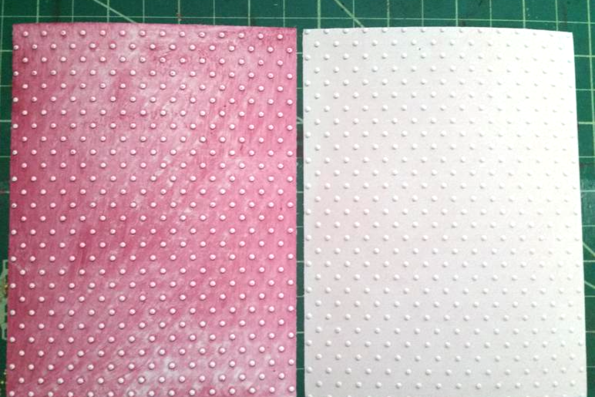
7. Add Texture
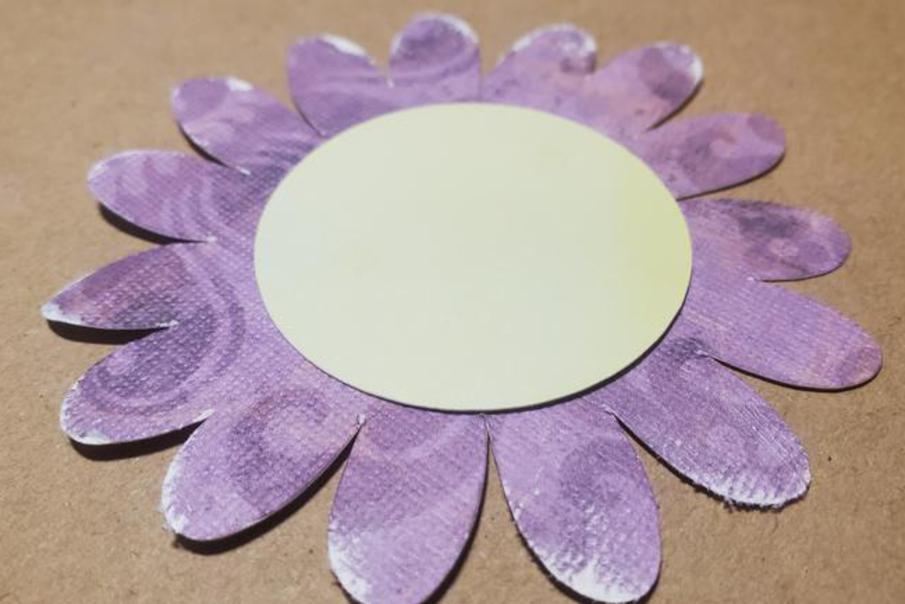
Adding texture is a wonderful way to make your die cuts feel more interesting and visually engaging. While most die cuts start as smooth cardstock, combining them with textured materials can instantly elevate the finished look. Try layering your die cuts onto embossed cardstock, linen paper, handmade paper, or even translucent vellum to create contrast and depth. Each material brings its own unique character—embossing adds raised details, linen paper introduces a subtle woven texture, handmade paper creates an organic feel, and vellum softens and layers beautifully without hiding the elements beneath it. Mixing different textures together helps your projects feel richer, more dimensional, and professionally designed while adding visual interest without increasing clutter.
Another easy way to add texture is by applying dimensional mediums directly to your die cuts and embellishments. Products such as Glossy Accents, Stickles, glitter glue, crackle mediums, and dimensional paints can add shine, sparkle, raised details, or vintage effects with very little effort. Try adding Glossy Accents to flower centers, labels, or decorative hardware to create a glass-like finish, or use Stickles to add a touch of sparkle to butterflies, florals, and holiday-themed embellishments. These types of accents draw attention to specific details and create subtle texture that can make your die cuts feel more realistic, decorative, and visually interesting.
3. Layer Multiple Die Cuts Together
One of the simplest ways to make a die cut feel more substantial is to cut the same design multiple times and stack the pieces directly on top of each other with foam adhesive. By layering two identical die cuts together, you create a thicker embellishment with added depth and a more professional finished appearance. This technique works especially well with intricate shapes, sentiments, and focal pieces that you want to stand out on your project. The extra layers not only make the die cut more durable, but they also create subtle shadows around the edges that help it pop from the page. It's an easy upgrade that can make even a basic die cut feel more like a premium embellishment.
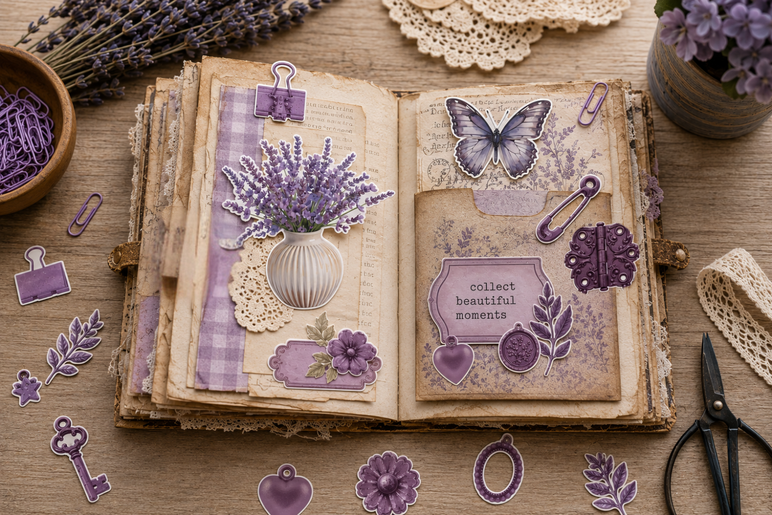
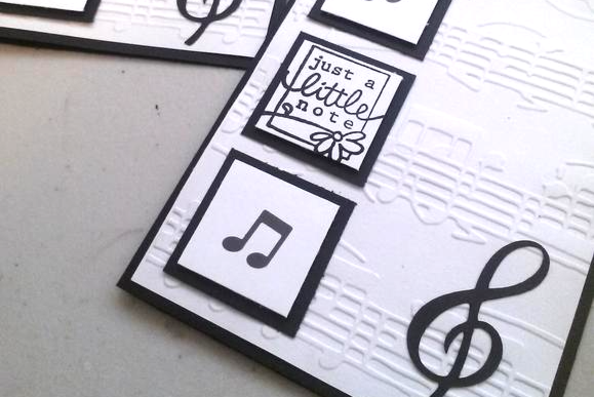
8. Use Paper Scraps Behind Your Die Cuts
You don't need expensive supplies to create beautiful layered die cuts—sometimes all you need are a few paper scraps. Placing small pieces of patterned paper, book pages, ledger paper, sheet music, or cardstock behind your die cuts instantly adds color, contrast, and visual interest. The layered papers create a foundation that helps your die cut stand out while also adding depth to your project. Try mixing different colors, patterns, and textures for an eclectic look, or stick with coordinating papers for a more polished design. This is a great way to use up leftover scraps while creating die cut embellishments that feel fuller, more detailed, and professionally layered.
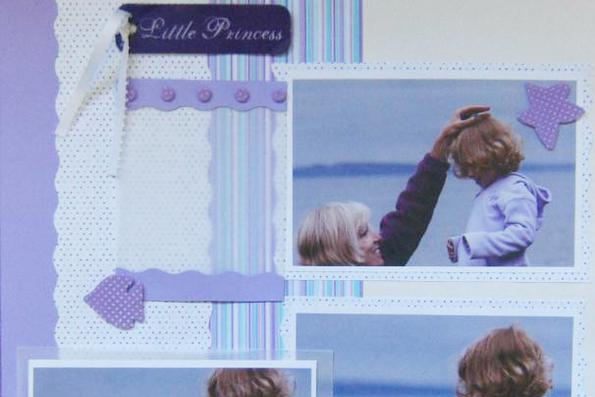
9. Add Frames And Labels
Frames and labels are simple additions that can make your die cuts look more intentional and professionally designed. A decorative frame helps draw attention to your focal element, while labels provide a visual anchor that grounds the design and creates additional layering opportunities. Try placing a small label behind a flower, tucking a frame underneath a sentiment, or combining several labels of different sizes to create depth and dimension. These extra layers help break up empty space and give the eye more details to explore. Whether you're creating scrapbook layouts, junk journals, handmade cards, or mixed media projects, frames and labels are an easy way to transform a basic die cut into a polished focal point.
12. Add Hardware Accents
Hardware accents such as paper clips, safety pins, hinges, charms, brads, and metal embellishments can add wonderful detail and personality to your die cuts. These small decorative touches help create focal points, reinforce a theme, and add visual interest that makes your projects feel more finished and thoughtfully designed. Tucking a tiny paper clip behind a die cut flower or adding a decorative hinge to a layered cluster can instantly make the entire design feel more special.
While real metal hardware can look beautiful, it also has a few drawbacks. It can add bulk to your projects, increase mailing costs, and make journals or scrapbooks difficult to close when used across multiple pages. That's where printable hardware accents can be a great alternative. Printed paper clips, safety pins, hinges, and other hardware-inspired embellishments provide the same decorative look without the extra weight or thickness. They're easy to print, cut, and layer into your designs, making them a practical way to add detailed accents while keeping your projects lightweight and easy to work with.
10. Use Vellum
Vellum is a versatile paper crafting material that can instantly add softness, depth, and elegance to your die cut designs. Because vellum is translucent, it allows you to create additional layers without completely covering the elements underneath. Try placing a vellum shape behind a die cut, layering vellum over patterned paper to tone down busy designs, or adding a vellum frame to create subtle contrast. The semi-transparent look helps separate layers while maintaining a light and airy feel, making vellum especially popular for junk journals, scrapbook layouts, wedding projects, and handmade cards. Even a small piece of vellum can add a beautiful finishing touch and make your die cuts feel more polished and dimensional.
11. Distress the Edges for a Vintage Feel
If you love vintage, shabby chic, or junk journal styles, distressing the edges of your die cuts is an easy technique that can add instant character and charm. To create a distressed look, gently rub the edge of your die cut with the blade of a pair of scissors, a paper distresser tool, or even your fingernail to rough up the paper fibers slightly. Once the edges are lightly frayed, apply a small amount of ink with a blending tool or sponge to highlight the texture and create an aged appearance. You can keep the effect subtle for a softly worn look or add more distressing for a heavily aged, vintage feel. This simple technique adds texture, depth, and personality while helping newer papers blend beautifully with older-looking elements in your projects.
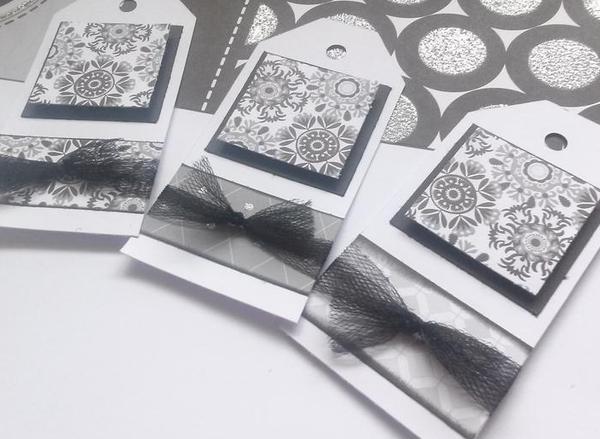
5. Add Decorative Stitching
Decorative stitching is a simple technique that can make even the most basic die cut look more polished and finished. Whether you use a sewing machine, hand stitching, or simply draw faux stitches with a pen, the added detail creates texture and visual interest that helps your die cuts stand out. Try stitching around the edge of a die cut, adding a stitched border to a backing layer, or using contrasting thread colors to create extra emphasis. This small touch can make your projects feel more handmade, thoughtful, and professionally crafted while adding another layer of detail without overwhelming your design.
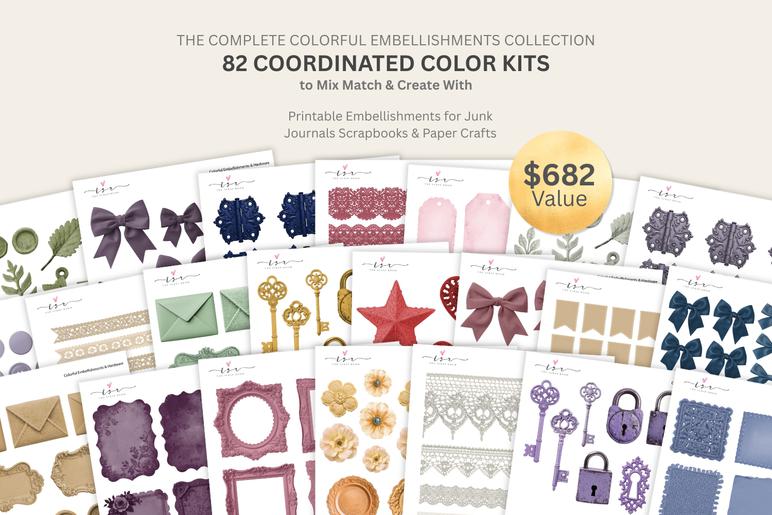
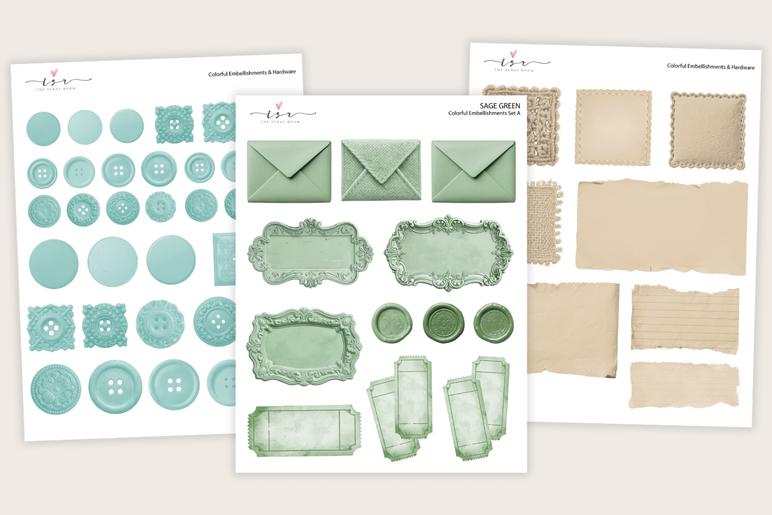
13. Create Color Coordination
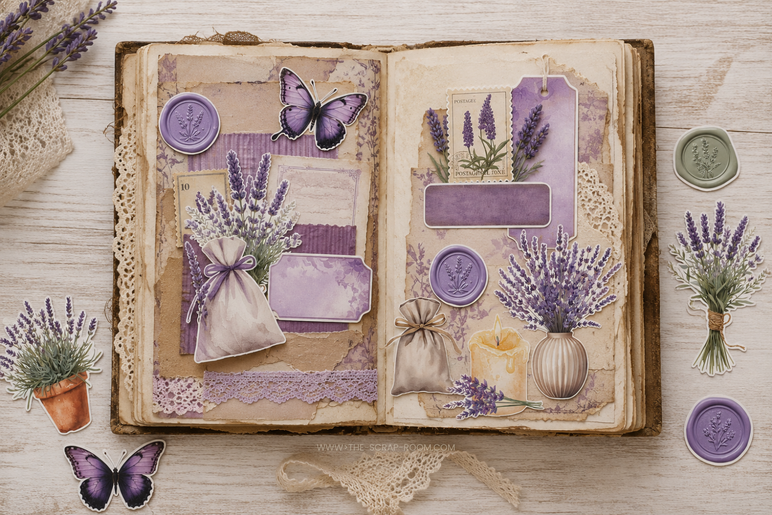
One of the secrets to making die cuts look professionally designed is creating a cohesive color palette throughout your project. Even the most beautiful die cuts can feel out of place if the surrounding embellishments, labels, frames, and accents don't coordinate with the colors already on the page. By choosing embellishments in colors that complement your die cuts, you can create a more polished, intentional look that naturally guides the eye around your design.
When building layered clusters, try repeating the same two to five colors throughout your project. For example, if you're using lavender flowers, you might also incorporate lavender labels, purple butterflies, soft gray frames, and coordinating embellishments to tie everything together. The repeated colors help separate elements feel connected, making the finished project appear more balanced and visually appealing.
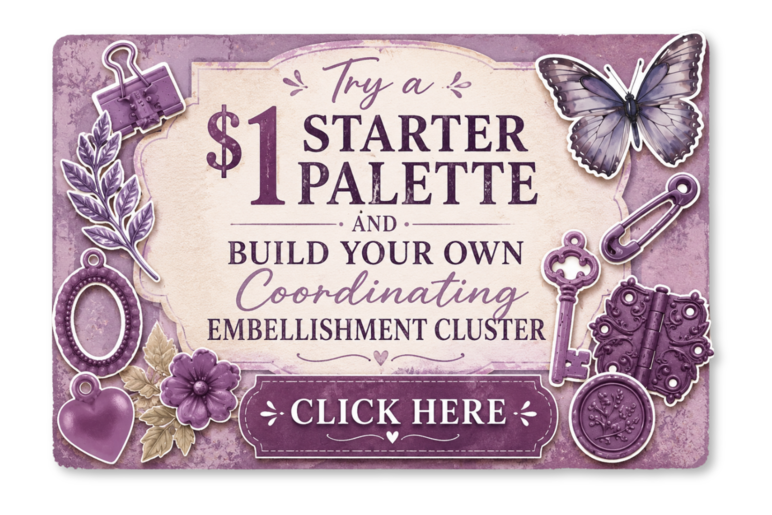
This is one of the reasons I created my Colorful Embellishments Collection. With nearly 2,000 printable embellishment pages available in 82 coordinating color palettes, it's easy to find matching labels, frames, tickets, buttons, hardware accents, and other embellishments that work beautifully with your existing die cuts and paper crafting supplies. Instead of searching through countless products hoping something matches, you can simply choose a coordinating palette and start layering with confidence.
Click here to visit my Colorful Embellishments Guide page, grab some free printable samples, and learn more about mixing-and-matching coordinating color palettes and embellishments.

The best part about these techniques is that they can be mixed and matched to create endless looks. A simple die cut can be transformed with a little dimension, a few layered embellishments, some inked edges, or a coordinating color palette. You don't need expensive supplies or complicated tools to create projects that feel polished and thoughtfully designed—just a few creative details can make a big difference.
As you experiment with these ideas, remember that the most eye-catching paper crafting projects often combine several techniques together. Try layering embellishments, adding depth with foam tape, incorporating texture, and coordinating your colors to create focal points that truly stand out. Whether you're making junk journals, scrapbook layouts, handmade cards, or other paper crafts, these simple upgrades can help turn ordinary die cuts into beautiful embellishments that add personality, depth, and visual interest to every project.
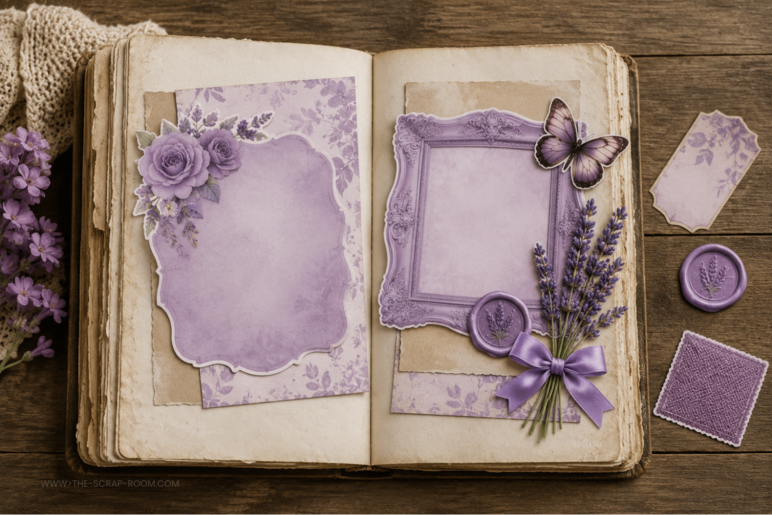
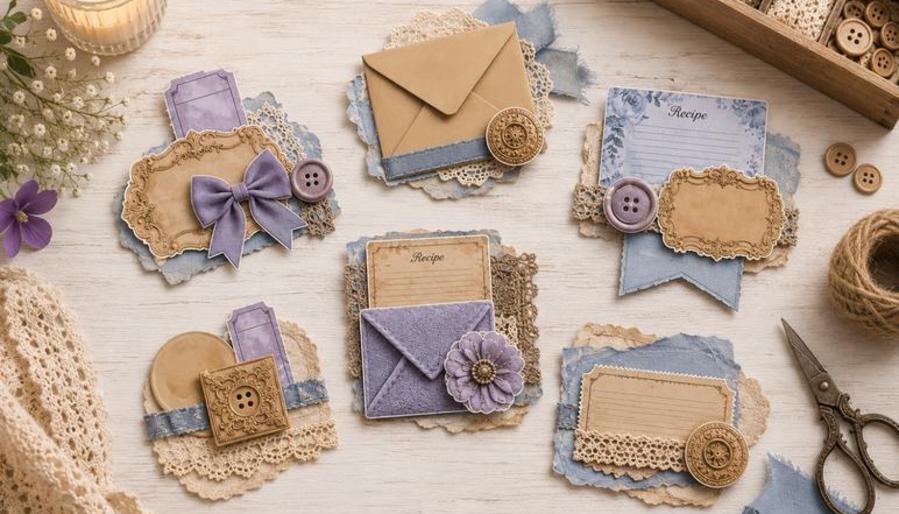
1. Add Coordinating Embellishments
Add Coordinating Embellishments Around Your Die Cuts
One of the fastest ways to make a simple die cut look more detailed and professional is to surround it with coordinating embellishments.
Try layering a few small pieces behind or around your die cuts:
Labels
Tickets
Frames
Buttons
Wax seals
Paper scraps
Tiny tags
Hardware accents
These little details help your die cuts feel like part of a complete design instead of floating on the page by themselves.
Even a few carefully chosen embellishments can add depth, color, texture, and visual interest to scrapbook layouts, junk journals, handmade cards, and other paper crafting projects.
Free Printable Embellishments
To help you get started, I've put together a free 3-page printable embellishment set that works beautifully with existing die cuts, ephemera, scrapbook supplies, and paper craft embellishments.
6. Ink the Edges for Depth
Inking the edges of your die cuts is a quick and easy way to add depth, definition, and character. By lightly blending ink around the outer edges, you create subtle shadows that help the die cut stand out from the background and draw attention to its shape. This technique works especially well for vintage, shabby chic, cottagecore, and junk journal styles, but it can enhance almost any paper crafting project. Try using brown ink for an aged, distressed look or choose a coordinating color to add extra dimension while keeping everything cohesive. A few seconds of inking can transform a flat die cut into a piece that looks more finished, layered, and professionally crafted.
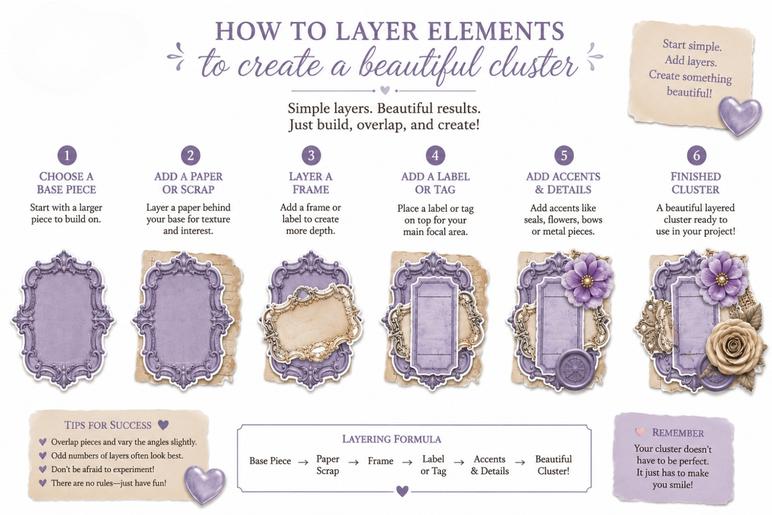
4. Build a Mini Cluster
You can make a die cut look more detailed and professional by turning it into a mini cluster. Instead of placing a die cut directly onto your project by itself, try layering a few coordinating elements behind and around it. Start with your die cut as the focal point, then add a label, ticket, frame, paper scrap, button, or other small embellishment to create visual layers. The extra pieces don't need to be complicated—just two or three coordinating embellishments can add depth, texture, and interest. Clusters help guide the eye around your design and make your die cuts feel like part of a cohesive project rather than a standalone decoration. This simple layering technique works beautifully for junk journals, scrapbook layouts, handmade cards, and mixed media projects.
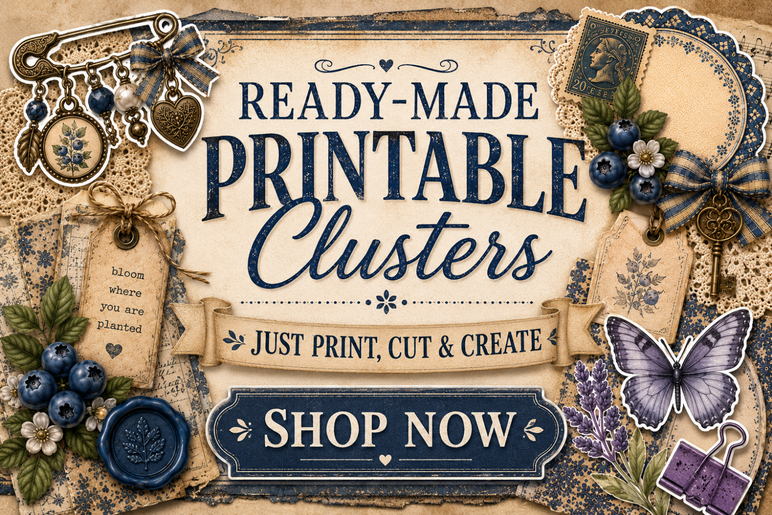
For more on cluster building, and to grab a few more Colorful Embellishment freebies, stop by my Colorful Embellishments Guide page here.
Inside the Colorful Embellishments Guide, you'll find step-by-step layering tutorials, cluster-building ideas, color matching tips, printable embellishment examples, and several free downloads to help you create beautiful focal points for your junk journals, scrapbooks, handmade cards, and paper crafting projects. You'll also discover how to mix and match embellishments, build coordinated clusters, and choose color palettes that work together beautifully—making it easier than ever to create polished, professional-looking projects.