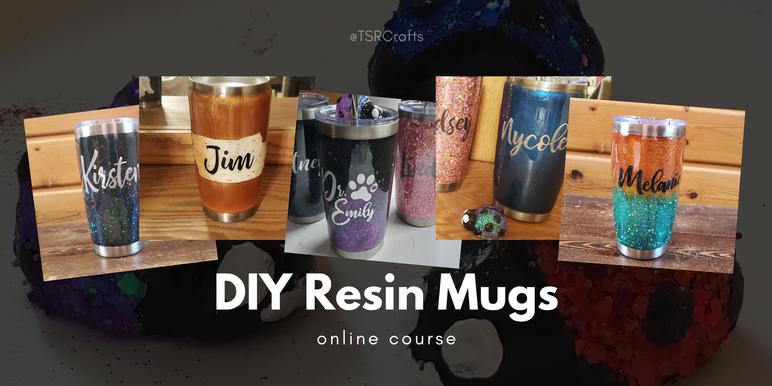
How to Make Resin Tumbler Mugs
Learn how to make different kinds of resin tumbler mugs, plus a waste-minimizing project for your leftover resin!
Ready to Create Stunning Custom Resin Tumblers? Let’s Get Started!
Are you excited about creating your very own custom-made resin tumbler mugs, but feeling a bit unsure about where to begin? No worries—this free, go-at-your-own-pace course is here to guide you through the entire process, step by step! Sign up here for the full course experience (it's FREE!), complete with a 9 day email series that will walk you through everything you need to know, in small bite-sided lessons that are easy to follow, plus you'll get exclusive bonuses like 10 digital decal designs, printable care instruction cards, and extra tips and tricks you won't find anywhere else!
Whether you're new to resin crafting or already have some experience with DIY resin projects, you’ll discover that making resin tumblers is much easier (and more budget-friendly) than it seems. I’ll walk you through every stage of the process, from gathering the right supplies and setting up a simple and inexpensive mug spinner, to mastering key techniques like adding glitter, working with mica powders, applying printed waterslide designs, and using vinyl decals to get that perfect professional finish.
Why Resin Tumblers Are More Affordable Than You Think
While it’s true that there’s an initial investment when purchasing tools and supplies, resin tumblers are surprisingly inexpensive to make—especially when you’re making several. If you’re crafting a batch of eight or more, the cost per tumbler goes down significantly. This makes them an excellent choice for gifts, special events, or even starting your own small business!
To give you an idea, tumblers like these typically sell for anywhere between $30 to $65 on platforms like Etsy, but I’ll show you how to create them for a fraction of the cost. You can make your first eight tumblers for about $25 each, and if you're making more than that, it gets even cheaper since you'll already have the mug turner, and many of the other tools and supplies on hand! I STILL have lots of great glitter colors left over for all kinds of crafts, vinyl for crafting projects down the road, and of course, the mug turner, for future mug projects.
A Creative Outlet with Meaning
Making resin tumblers isn’t just about the crafting process—it’s an opportunity to create something personal and meaningful. Whether you’re designing a keepsake for a wedding, baby shower, or graduation, or crafting a unique gift for family and friends, each tumbler will hold special value for the recipient. And you’ll be able to say, “I made this!” with pride.
What You’ll Learn in This Course
By the end of this course, you’ll have all the skills and confidence you need to create beautiful, professional-looking tumblers—without any stress or confusion. I’ll teach you all my secrets, share my favorite tips, and introduce you to my must-have supplies and tools. You’ll leave this course equipped to create mugs that people will swear you custom-ordered from a high-end shop!
Tools and Supplies
While the tools and supplies aren’t included with the free course, I’ve made it super easy for you to find everything you need. Below, you’ll find links to all the materials I use in the videos. Most of these tools will last through many projects to come—especially the mug spinner!
Bonus: Waste Minimizing Tutorial
Don’t forget to check out the “Waste Minimizing Tutorial” included at the beginning of the course! Every time you add a coat of resin to your mug, you’ll have a bit of extra resin left over. This tutorial will show you how to make the most of those leftover drips so nothing goes to waste.
So what are you waiting for? Dive in today, and start creating stunning, custom resin tumblers that will leave everyone asking where you got them! You can watch the lessons that are below at your own pace.
I've also designed this course as a 9-day email series that will guide you through each lesson in easy, bite-sized steps. From start to finish, you’ll get clear, step-by-step instructions to help you master every part of the process. Plus, you’ll receive some exclusive bonuses, like printable Care Instruction Cards and 10 free digital decal designs! These can be used with any PNG/SVG-compatible cutting machine to create vinyl decals for your mugs. On top of that, I’ve packed in extra tips and tricks that you won’t want to miss. Click below to sign up for the full course experience—it’s still free, just packed with more value!
If you enjoyed our DIY Resin Tumbler Mug Course or found value in it, give it a little love on social media! <3
Disclaimer: Please note that some of the links in this post may be affiliate links or ads. There is no additional cost to you, but The Scrap Room will earn a small commission should you choose to purchase through those links. Click here for my full disclaimer. Thank you for your support.
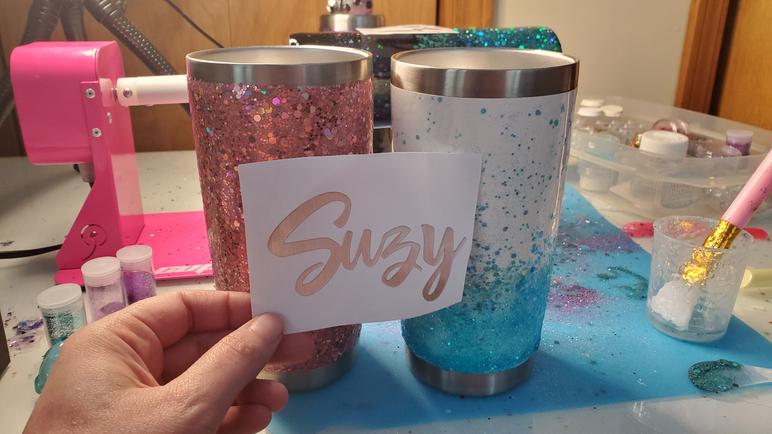
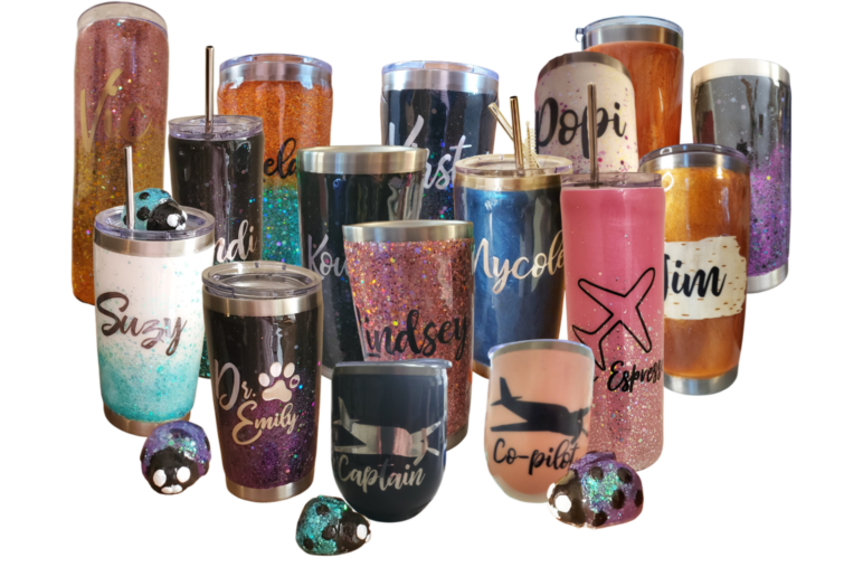
No matter what style of mug you decide to use, you're going to need most of the same supplies. Keep in mind that larger mugs will use more supplies than smaller ones. You may also need to adjust the size of the decal you use. On the skinny tumblers, I kept decals under 3 inches long. On the other mugs, most of the decals are 3.5" - 4". Depending on the decal you choose, you may need to adjust things accordingly.
I've used a few different tumblers throughout this course, and you can also use this same process on ceramic mugs, wine glasses and other glassware of your choosing too!
Supplies You'll Need

Resin Tumbler Mug Lessons
Ready to dive into the world of DIY resin tumblers? Sign up for the email series that accompanies this course and receive bite-sized lessons delivered over a week and a half. Not only will you get step-by-step guidance, but you’ll also receive a special bundle of 10 digital designs for creating vinyl or printed decals for your mugs, free printable Care Instruction Cards to include with any mugs you share, ensuring that recipients know how to take care of their new treasures, and you'll also get exclusive tips and tricks in the emails that you won’t find in the video lessons, so click below to sign up and enhance your crafting journey!
Here are the supplies that you will need for this project:
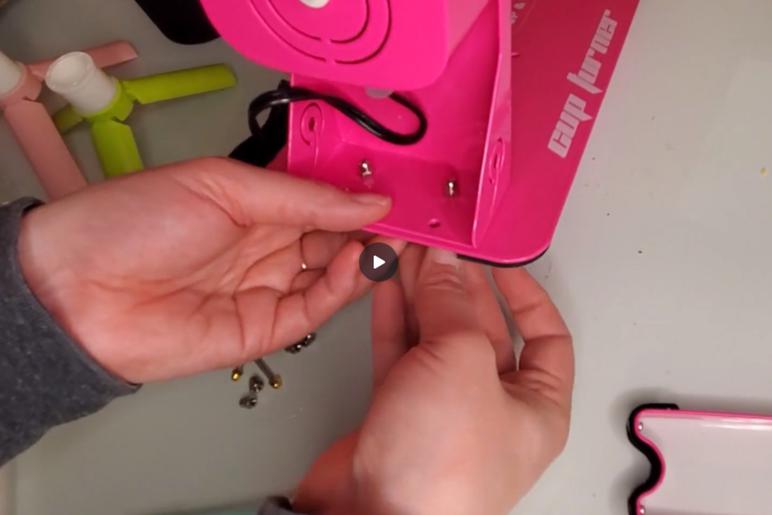
Mug Turner - This is the (updated version of) the one I used by LFSUM. It was inexpensive, came with some extras, and works great!
Silicone Craft Mat - An easy to clean up way to protect your workspace. I bought this inexpensive duo and they've held up great -- I've used them for so many craft projects!
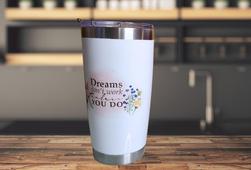
Mugs - I used a couple 20 oz skinny tumblers and few different shorter wider 20 oz mugs. If you can find powder coated mugs, your first coat will be a little easier to put on, but you can use mugs that are not powder coated as well. This was my favorite choice for mugs, and they have loads of color options to choose from!
NON-TOXIC Acrylic Resin - This is the one I used in the video, but I've actually since switched to ArtResins' resin, because like Unicone's it's BPA free and non-toxic, but unlike it, ArtResin has actually been approved by the FDA to be used with food items, so it's the one I recommend. You can find it on Amazon here. It's virtually odor free and is completely non-toxic, so you can use it inside no worries -- just crack a window or turn on a fan to be "extra" safe. ;)
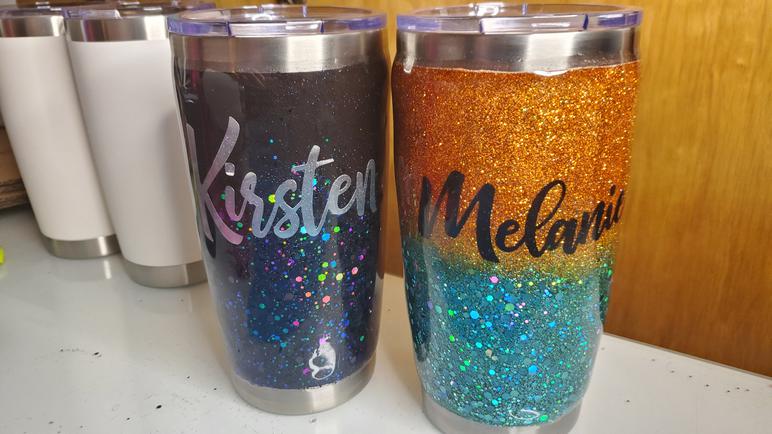
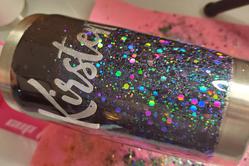
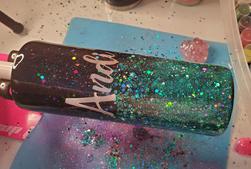
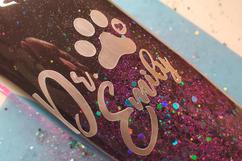
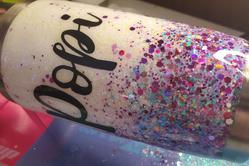
Glitter - I used a combination of chunky hexagon glitter, as well as super fine glitter. And because I know people will ask, because I get this question a LOT, the glitter on the "Kirsten" mug is black. The bigger pieces of black glitter look like a rainbow in the right lighting. I just love it -- out of all the mugs I did, the black ones had to be my favorites, and I've gotten so many comments from people on them. <3
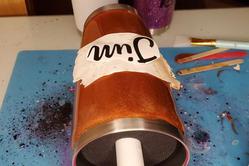
Mica Powder (for the non glitter mugs) - This is the blue I used for the "Nycole" Mug, and this is the set I got the orange in for the "Jim" mug
Vinyl Decal adhesive backed paper - for cutting decals for your mugs. This is the black one I used in the tutorials, and this is the brushed silver.
Electronic cutting machine - (optional) to use to electronically cut out SVG / EPS designs to use on your mugs. I used a Cricut Explore Air 2. Otherwise you'll need to cut your decals out with an old fashioned craft knife, or purchase them already cut out from your favorite supply shop.
The Font I used to create the text on this series of named mugs is called Bhatoshine, and can be found and purchased through Fontbundles.net, here.
Safety Gear:
Protective gloves ✔
Safety glasses ✔
*Please note, the resin I recommend is non-toxic and safe to use, but it's very messy and sticky, and one can never be too careful. I always recommend you use gloves and protective eye wear to be safe.
If you *DO* happen to get resin on something like your hand, your tools, etc, just use a little jojoba oil to wipe it off before it dries. This is the one that I use. As long as the resin is still wet, this works almost every time. ;)
We’d love to see your beautiful resin tumbler creations! Share a photo of your handmade mug on Instagram and tag us @TSRCrafts, or post it in our Facebook community to show off your amazing work. You might just inspire someone else to try making their own! Let’s celebrate your creativity together! #DIYResinMugs


