How to Line an Envelope in Under a Minute
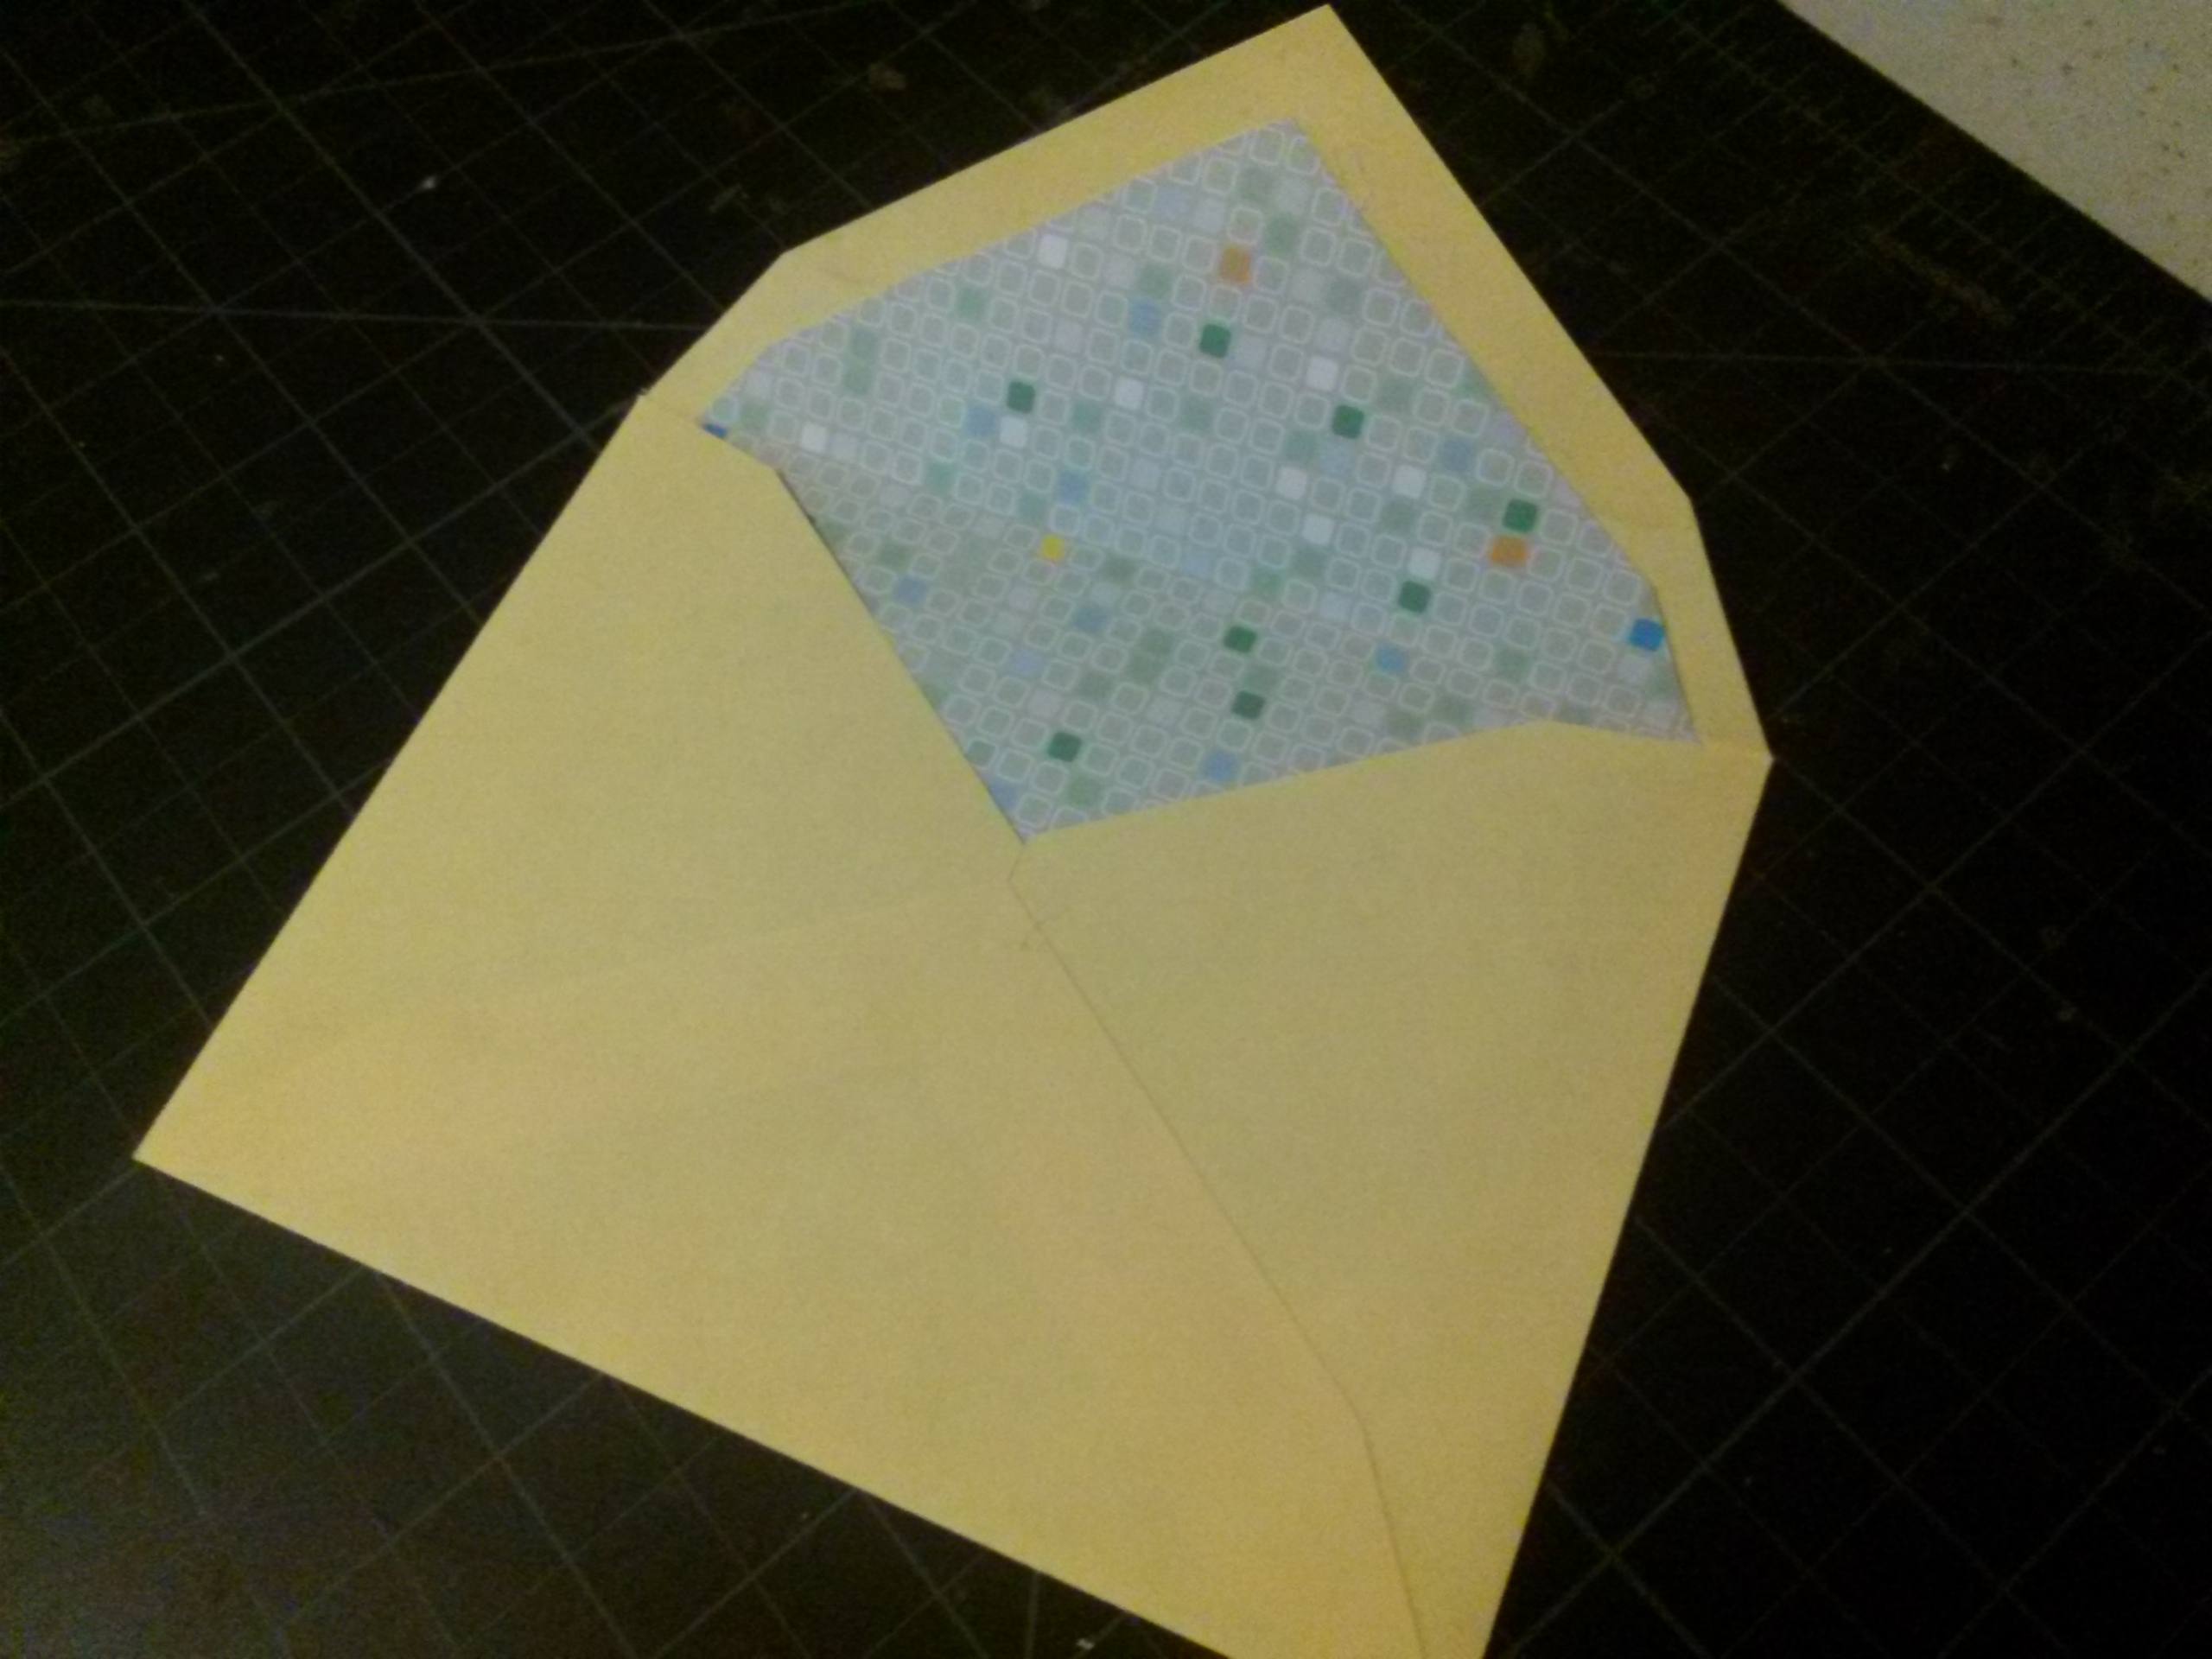
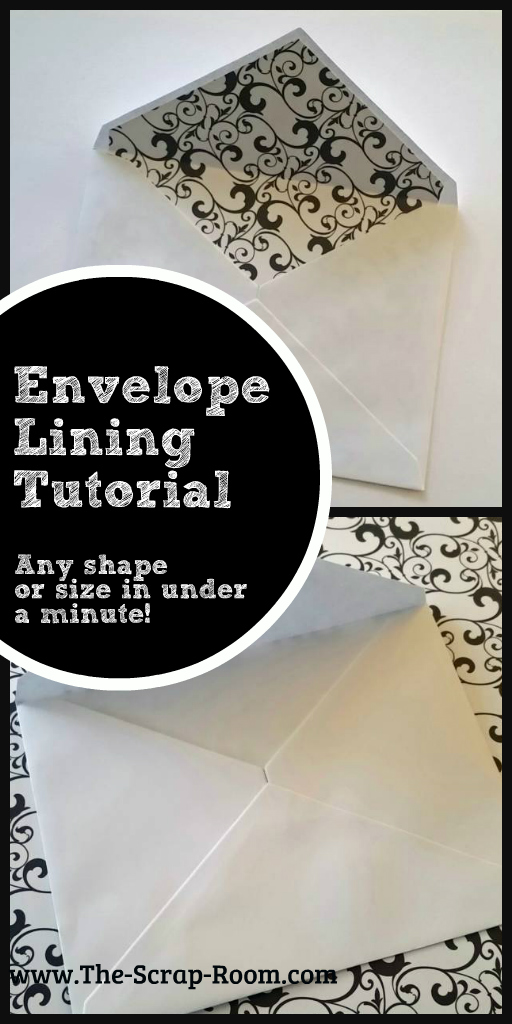
Once you see how quick and easy this tutorial makes it to line envelopes, you'll be adding decorative paper to all of your handmade greeting card's envelopes!
Envelope Lining in Under 60 Seconds
Supplies and Materials:
Pen or pencil
Scissors
Ruler/straight edge
Thin (Not cardstock!) printed paper that matches your card
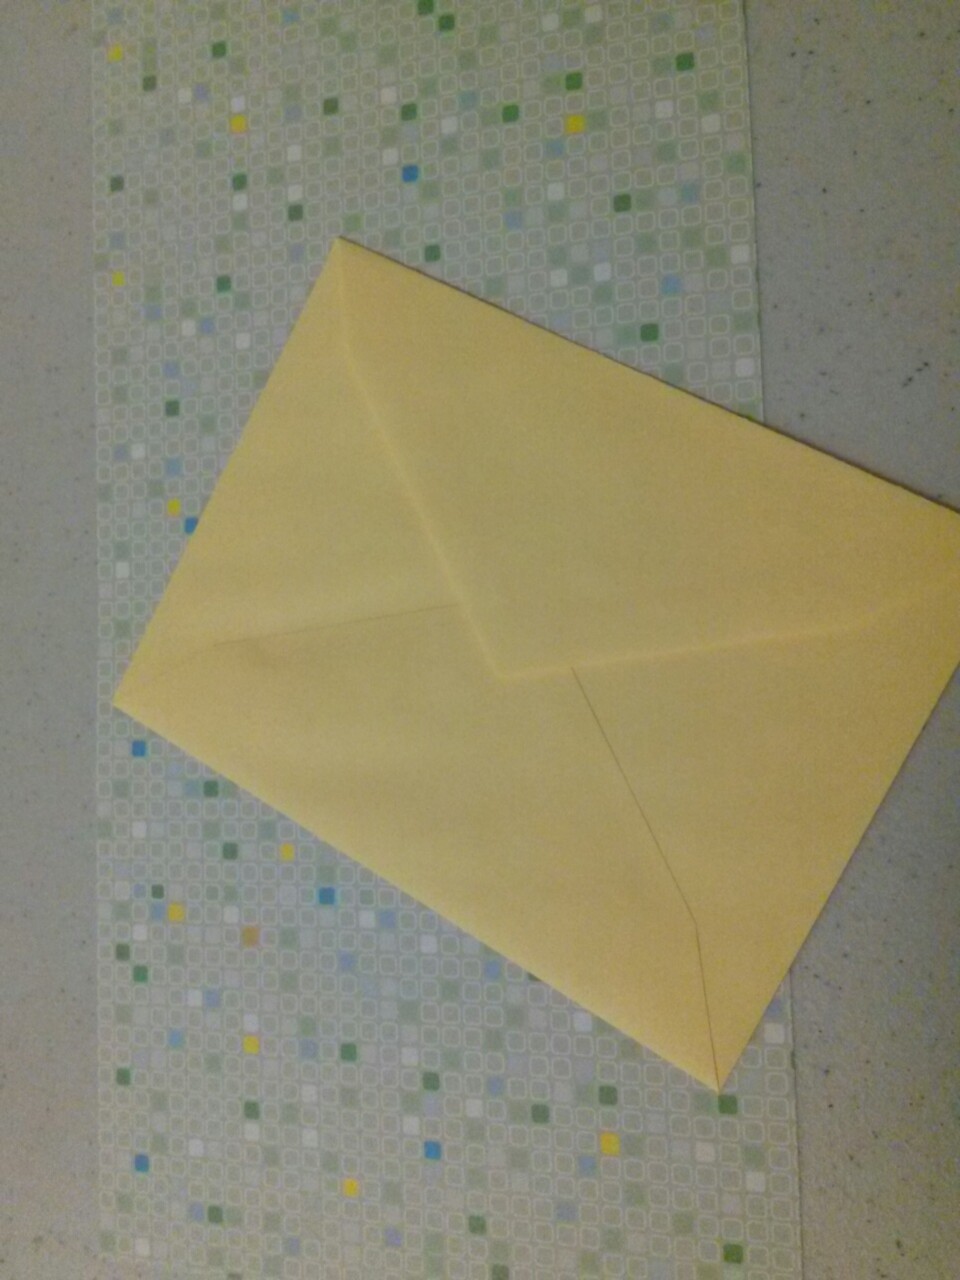
Begin with a piece of printed paper that matches your handmade card. You want to make sure that you're using paper, and not cardstock for this so it folds easily and doesn't add a lot of weight.
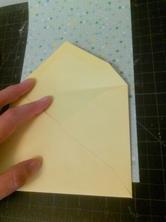
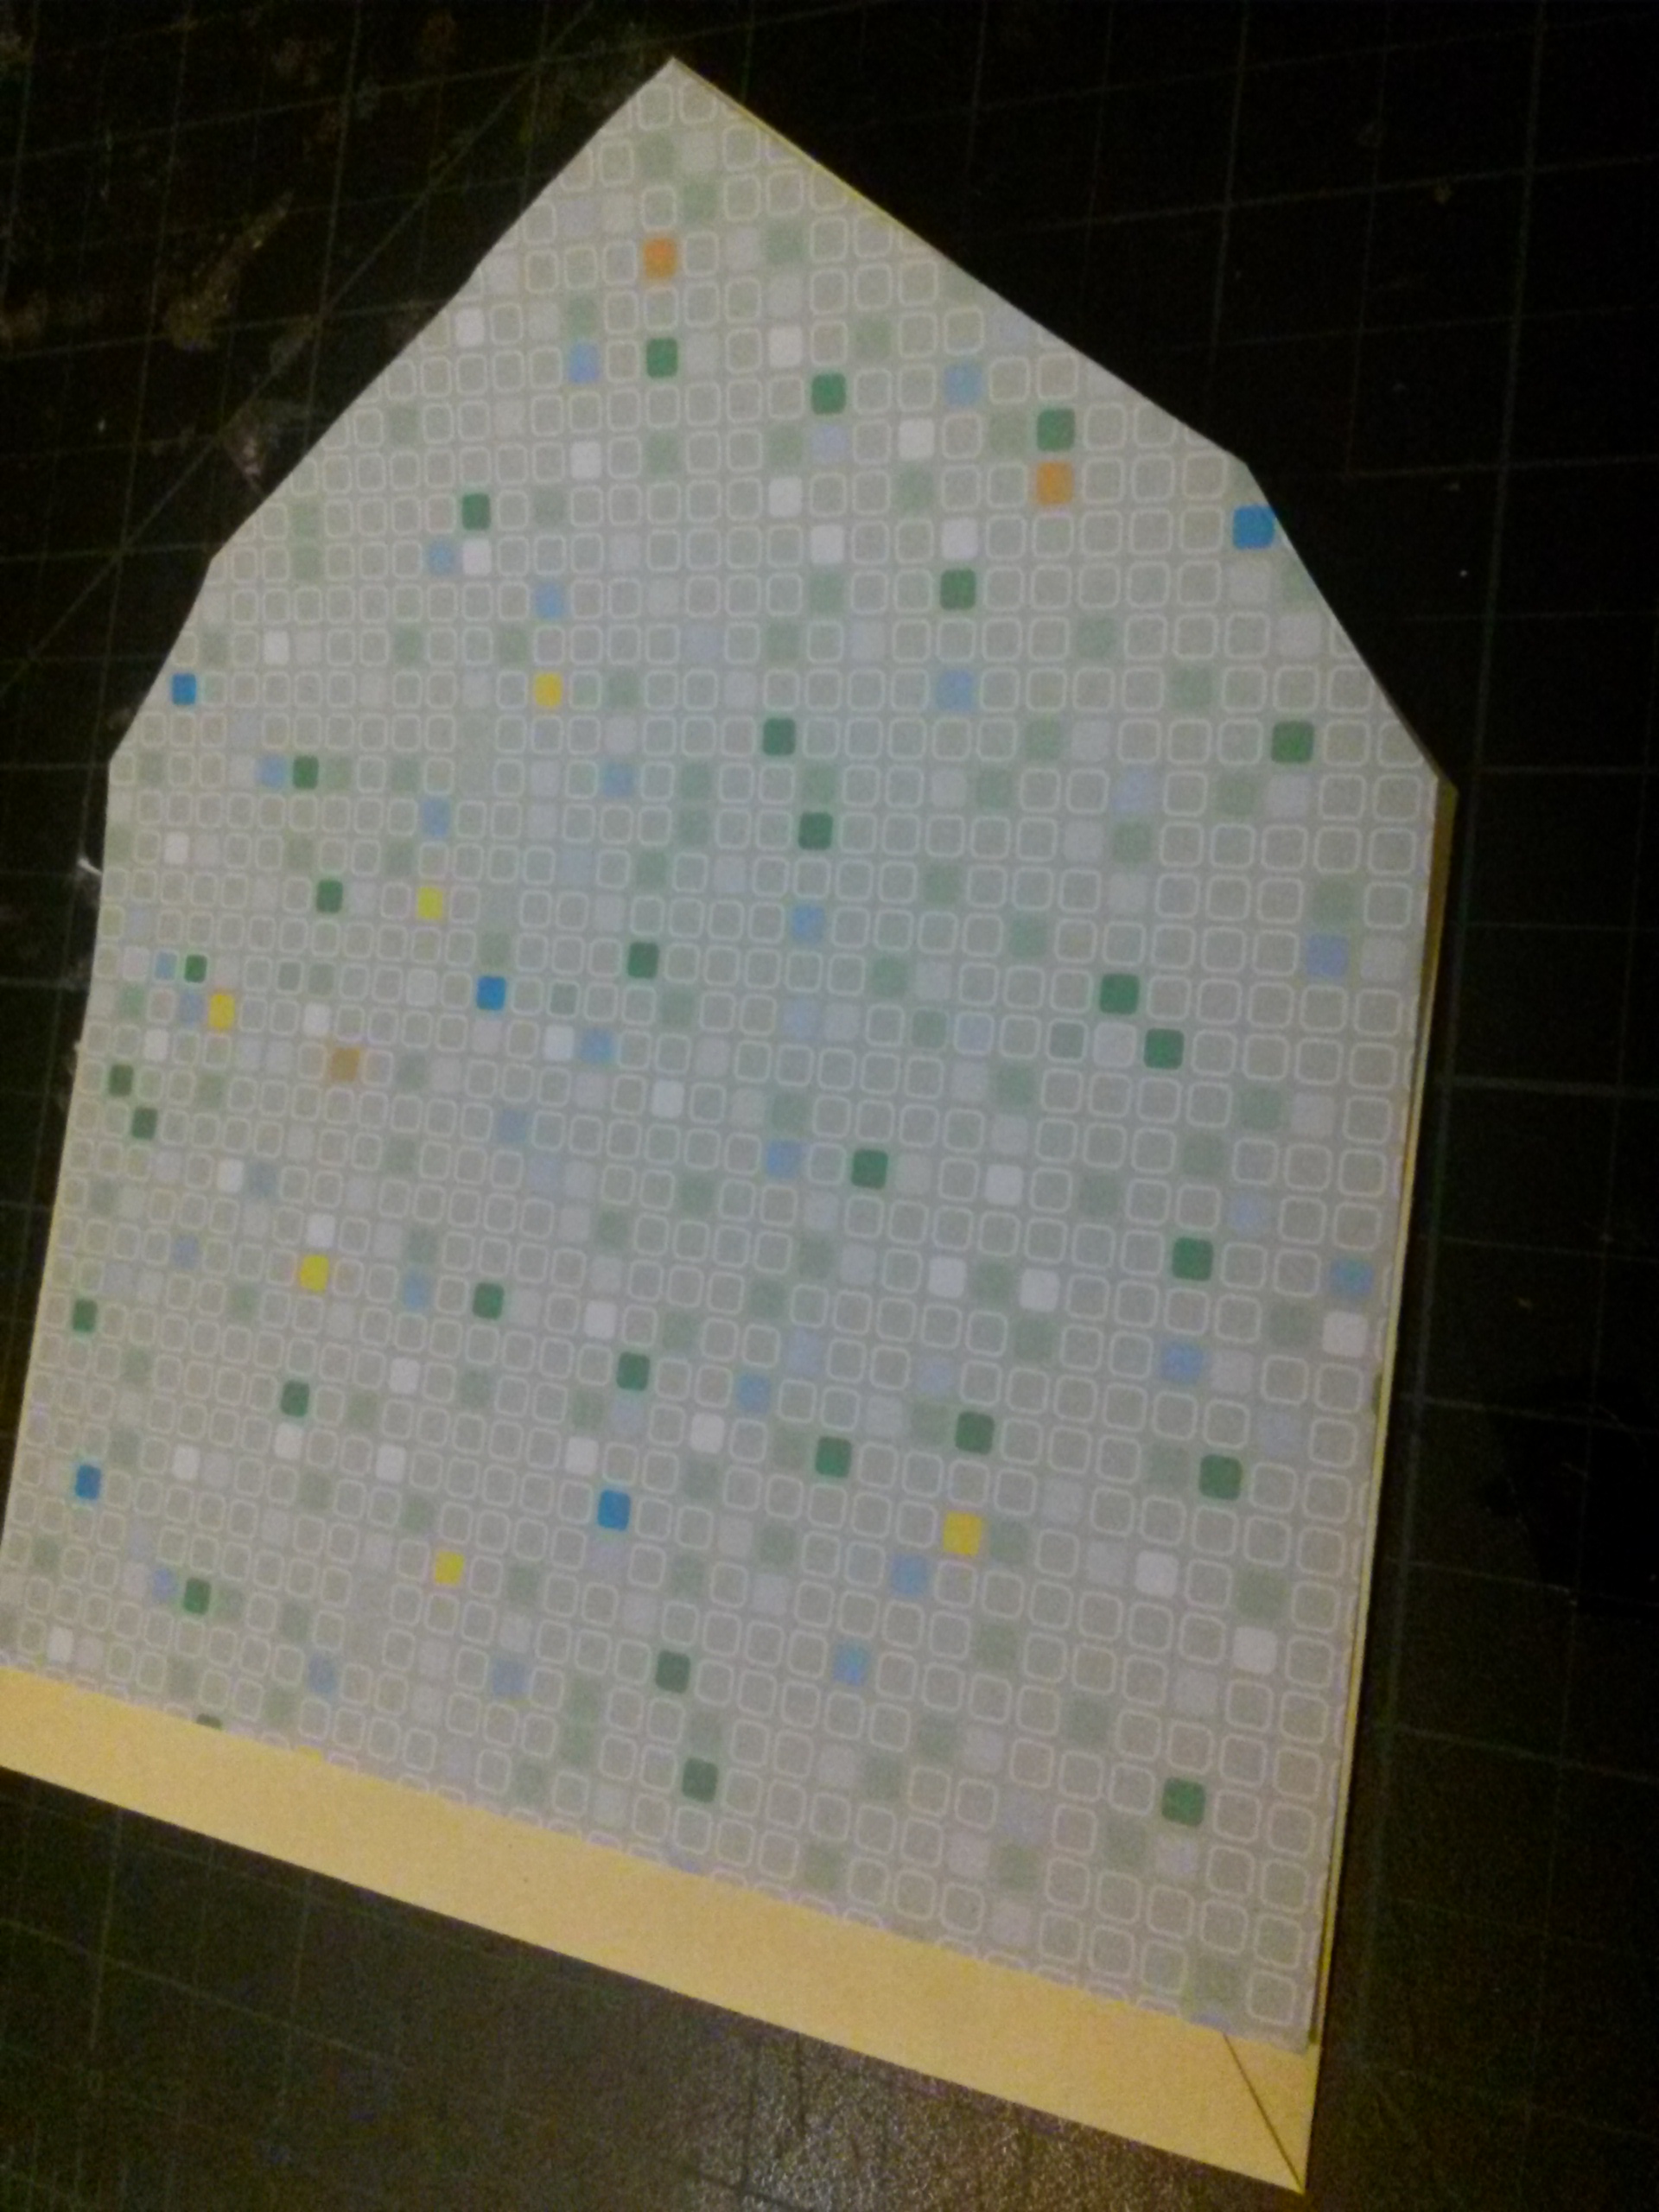
Lay the envelope on top of the printed paper, and slide it down so it sits about 1/2" lower than the bottom edge of the paper. Use a ruler and a pen or pencil to trace around the edges of the envelope. Cut about 1/8" in from the drawn line so your lining is slightly smaller than your envelope.
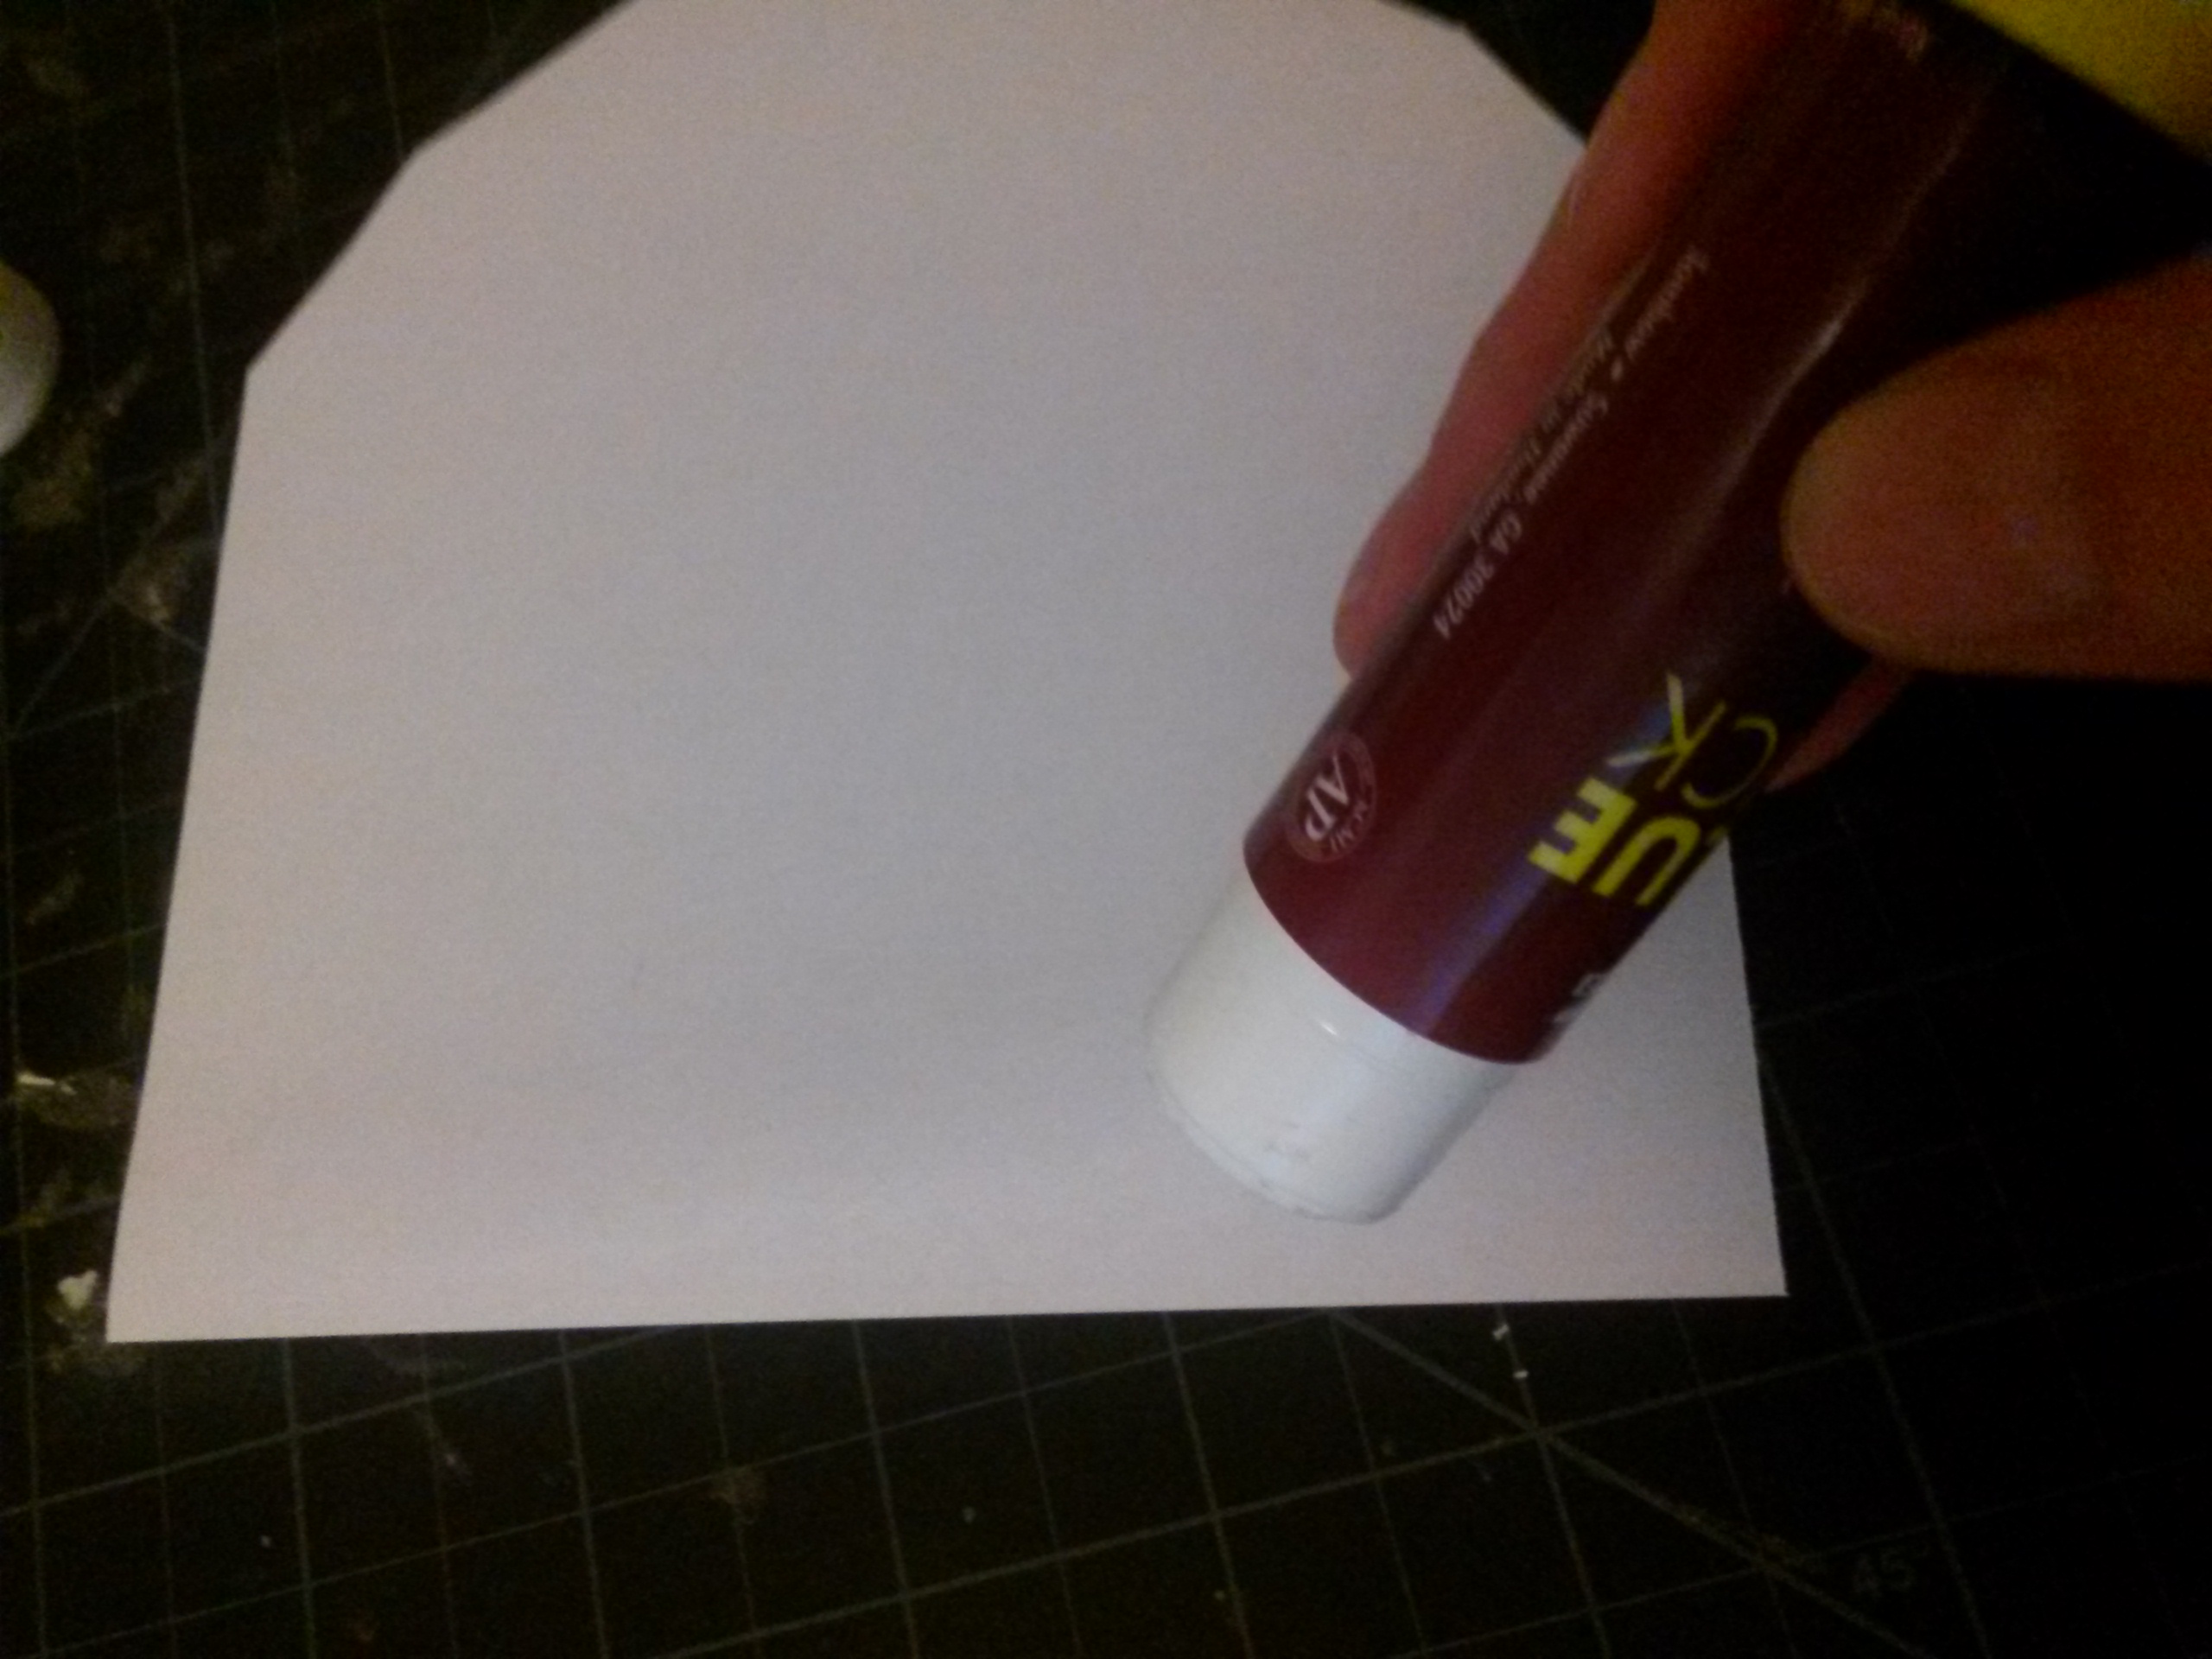
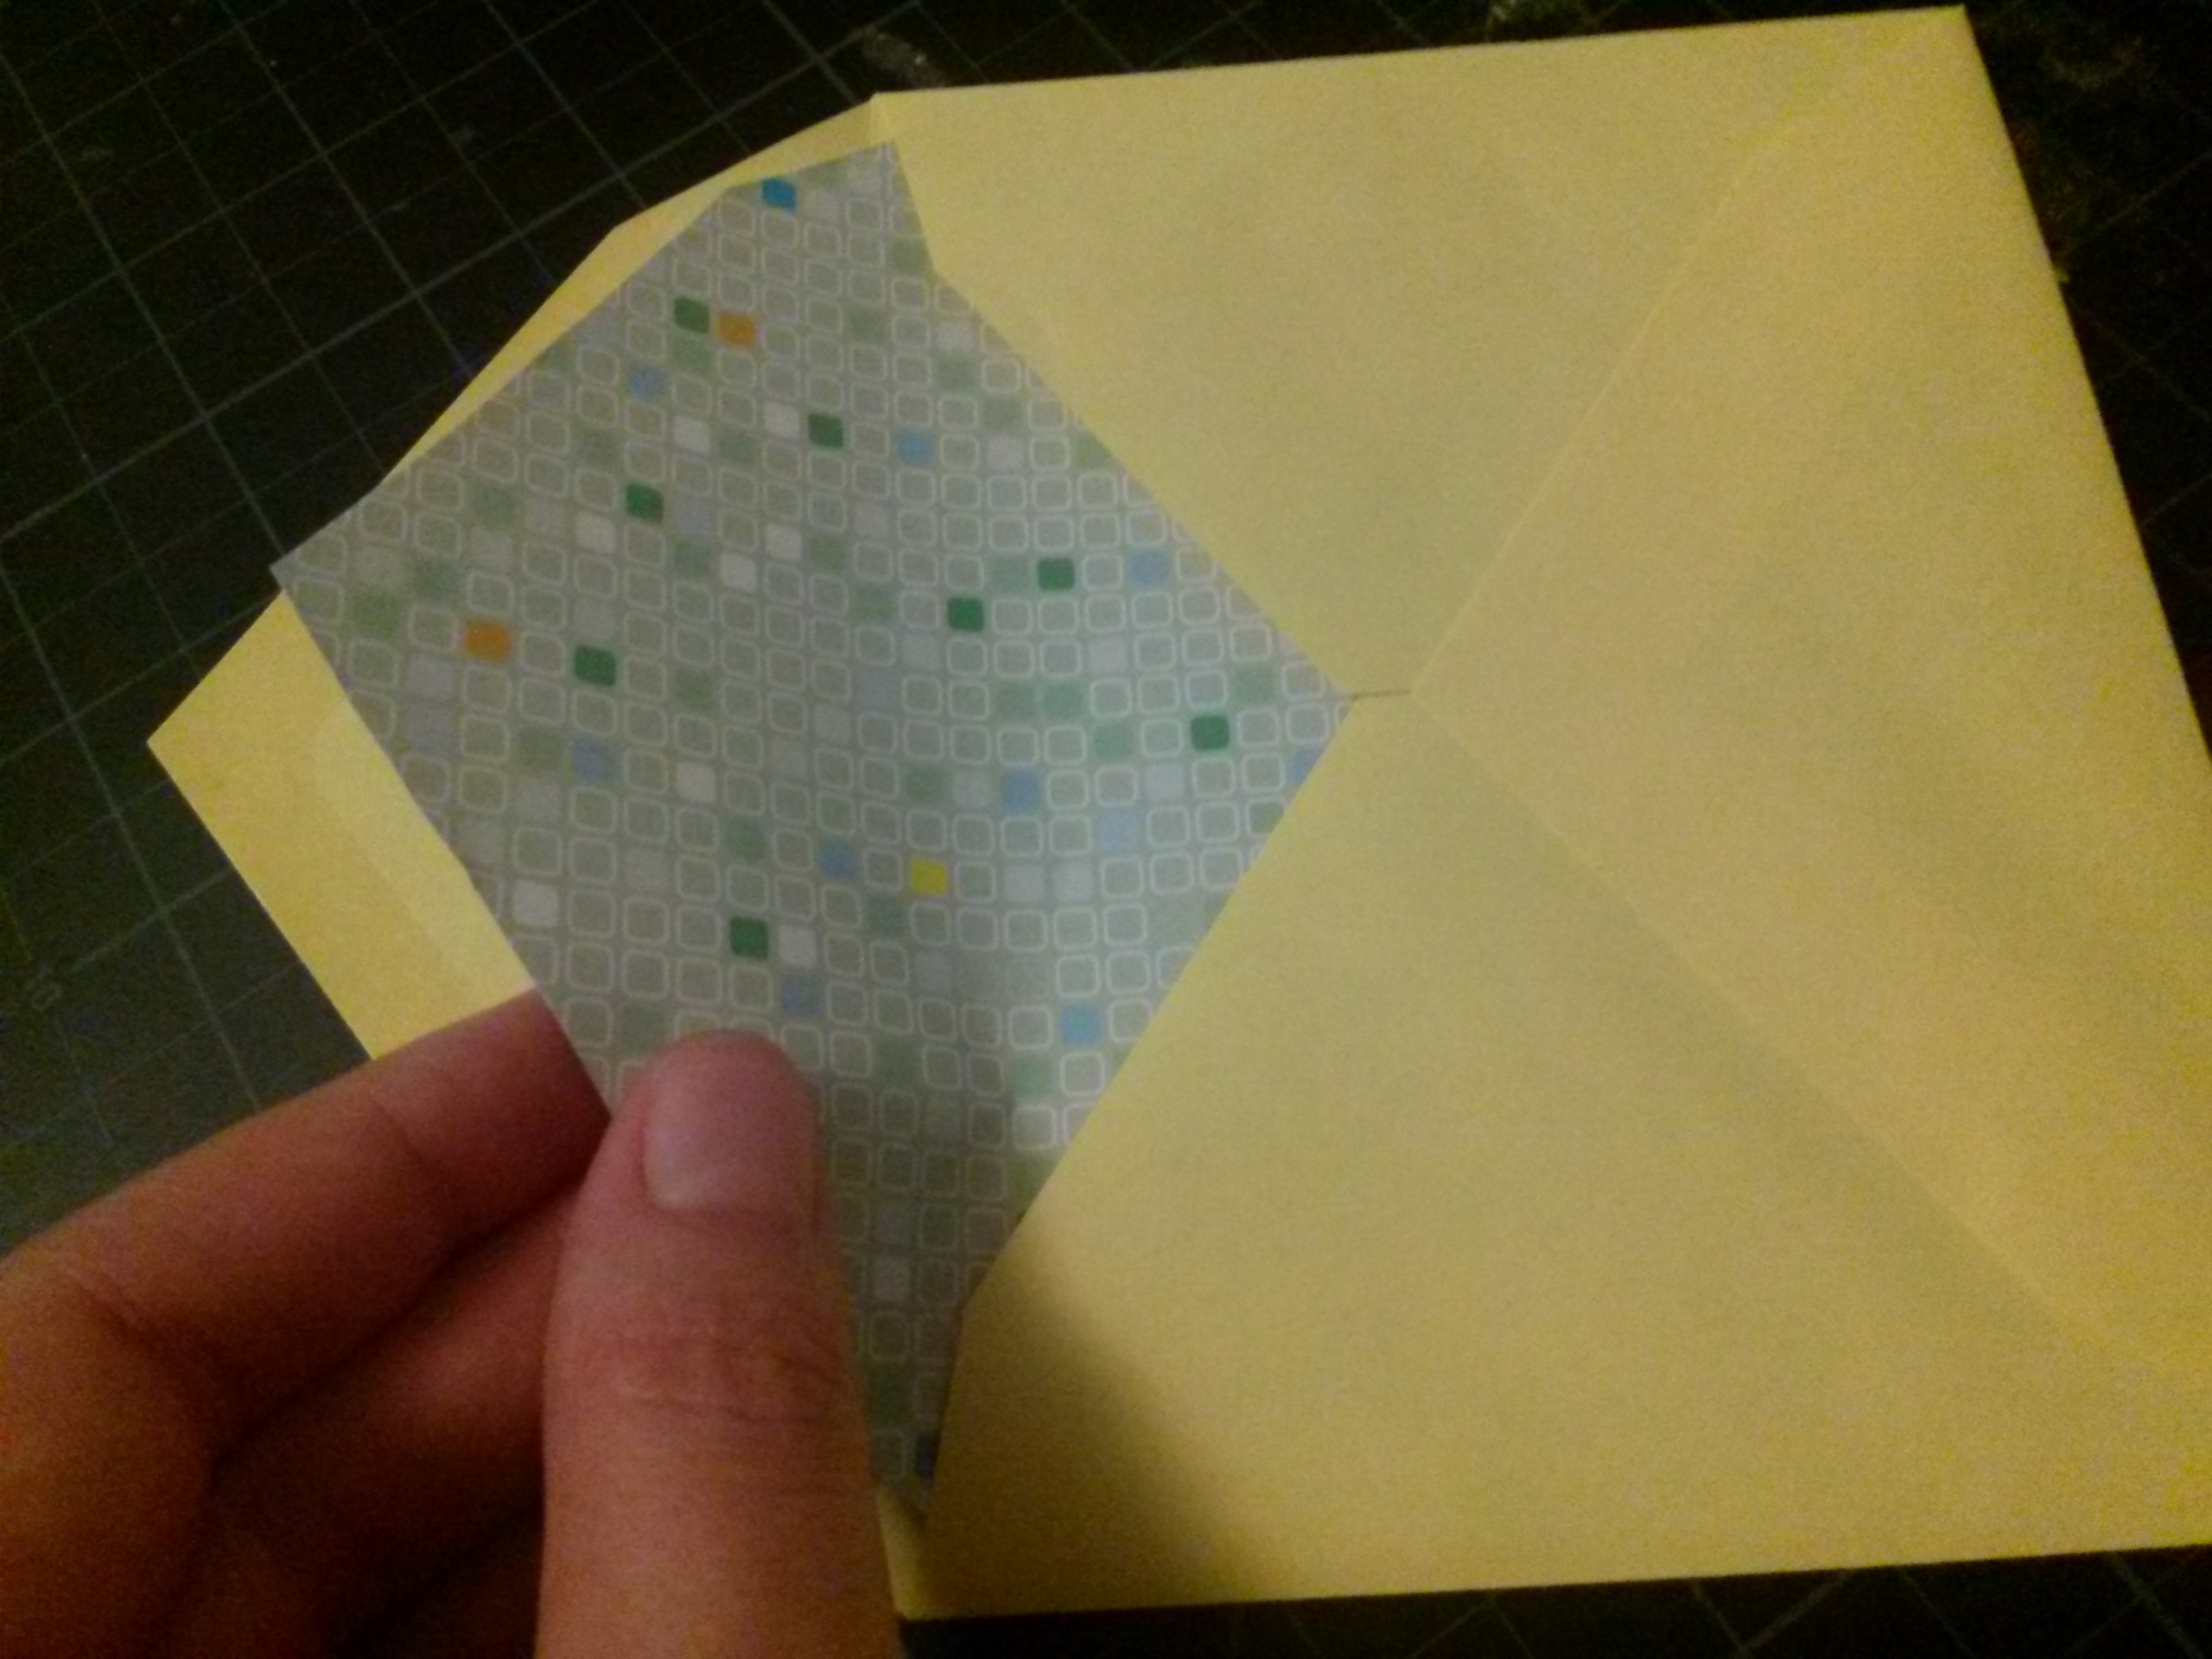
Use your tape runner or a glue stick to run a line of adhesive at the bottom and top of the printed paper. Slide it into the envelope, position it so the lining sits right below the envelope's glue line, and secure into place with the adhesive. A bone tool can help you get the perfect crease when you fold the flap closed and smooth along the envelope's existing fold line!
If you enjoyed our tutorial or found value in it, we'd love it if you'd give us a thumbs up or a share on Facebook or Pinterest!
You might
also enjoy...
If you enjoyed my tutorial or found value in it, I'd appreciate it if you gave it a little love on social media!
Disclaimer: Please note that some of the links in this post may be affiliate links or ads. There is no additional cost to you, but The Scrap Room will earn a small commission should you choose to purchase through those links. Click here for my full disclaimer. Thank you for your support.
