You might
also enjoy...
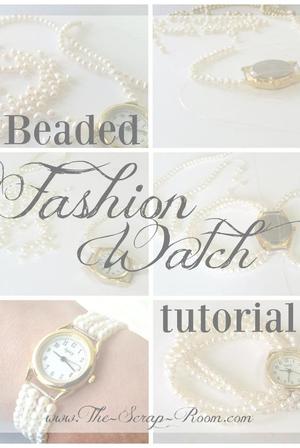
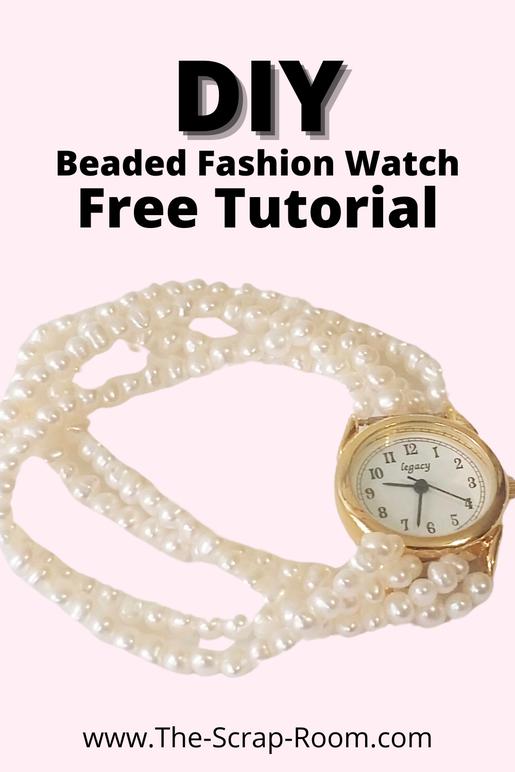
Beaded Fashion Watches
Follow our simple step-by-step guide to craft a unique and fashionable accessory with ease!
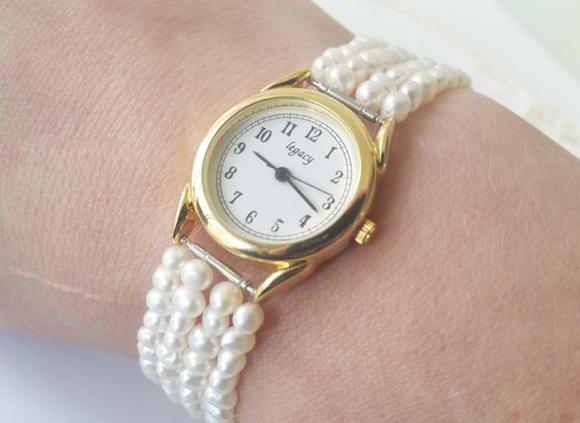
Talk about the PERFECT accessory! These beaded fashion watches add just the right touch to almost any outfit! Eye catching, yet practical, you can make one in under an hour to match any color or style. You’ll especially love the elastic band that keeps it in place comfortably and makes for easy wearing. No hard to secure clasps here!
If you enjoyed my tutorial or found value in it, I'd appreciate it if you gave it a little love on social media!
Disclaimer: Please note that some of the links in this post may be affiliate links or ads. There is no additional cost to you, but The Scrap Room will earn a small commission should you choose to purchase through those links. Click here for my full disclaimer. Thank you for your support.


I made some of these watches a few years ago for Christmas presents and I’ve received so many complements on them, I knew I needed to write a up a tutorial. I’m not a jewelry maker. I don’t know much about making jewelry at all. But these watches are simple to make, even for me, and make a great personalized gift for a friend, or addition to your own collection.
Since I didn’t originally plan to make this project into a tutorial, I only thought to take “final” pictures of the watches I made a short while back, but I’ve been wanting to make (another) one for myself and have been saving the perfect beads for it, so this morning I decided “Today’s the day!” I made my new pearl beaded watch in almost exactly an hour (go ahead – check the pictures! This is a watch tutorial after all!) And that includes all the picture taking time for these instructions, which I’m guessing you won’t need to do.

For this project, you will need:
-Beads of your choice
-Watch batteries
-Measuring Tape
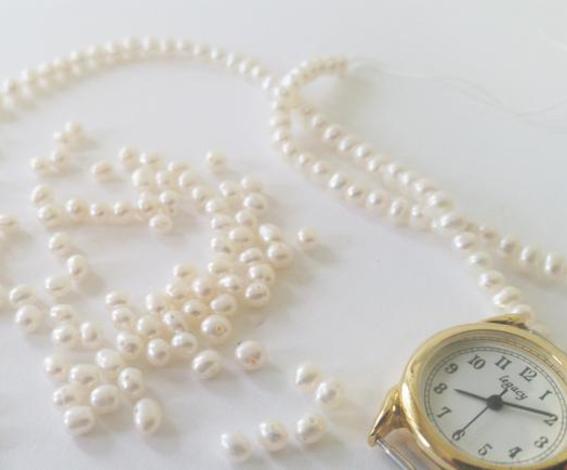
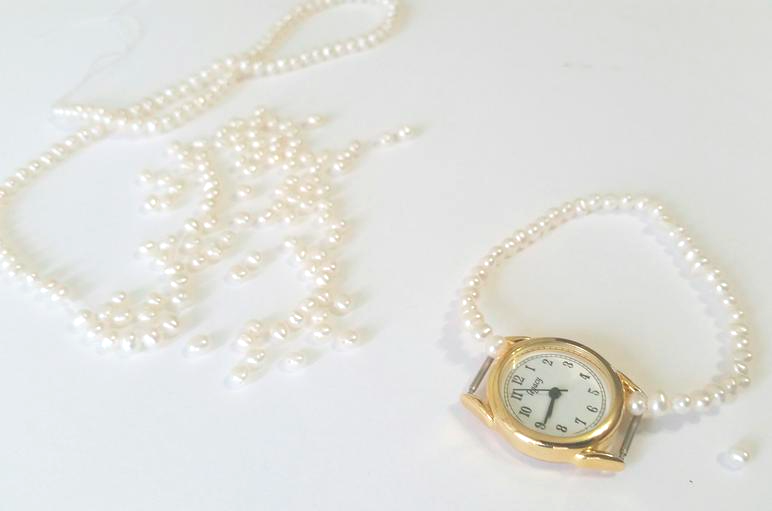
There are no special jewelry making tools or any wire bending needed for this project. The pictured watch only required 4 pieces of elastic string, about a foot long each, some beads, and a simple watch face. Depending on what face you choose, and the size of your beads, you might have to alter these directions a little to fit your needs. The pearl beads that I chose were very small, and so it took adding 4 strands of beads as the band to match the width of the watch face brackets.
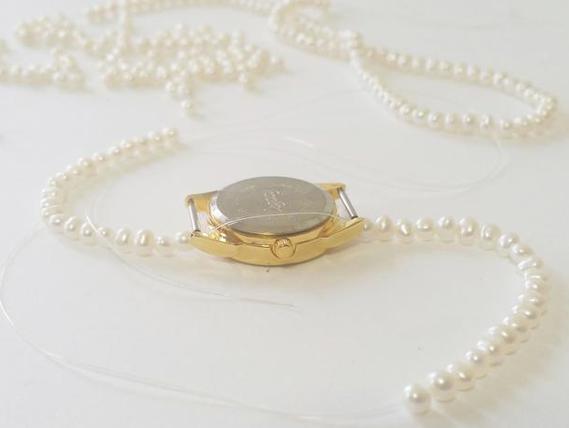
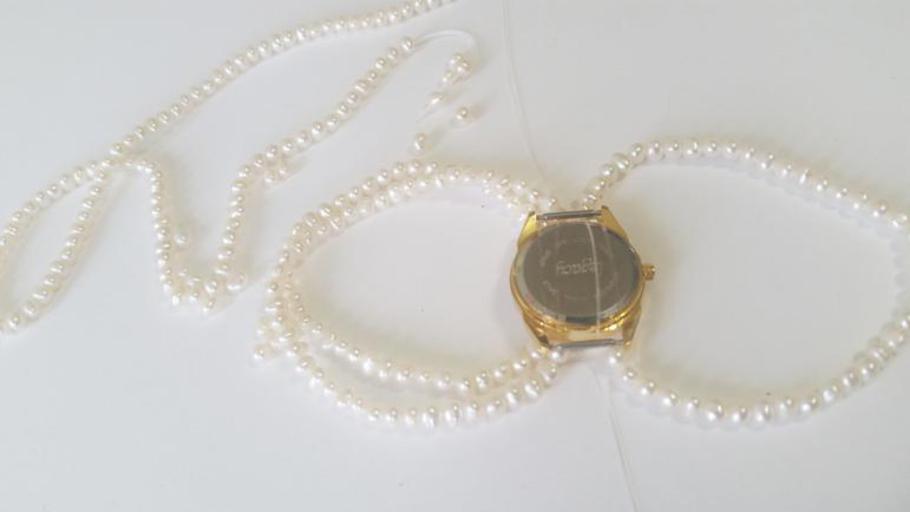
There are no weird tricks or anything to adding the string to the watch face. As long as you are using beads that are big enough to not slip through the opening for the watch band, you can simply take one end of the elastic and feed it over the bar, continue it along the back side of the watch face, and pull it back to the front through the bracket on the other side (as shown below). If you’re using smaller beads, you may need to wrap the elastic once or twice around each bar to help keep everything in place.
Since this is an elastic watch, you’ll want the length to be a fairly close match the size of wrist that will be wearing it. Too much length and the watch will spin loosely, but too tight and the elastic will stretch and the beads won’t, leaving exposed sections of string. If you’re making this for yourself simply use a measuring tape and fit it around your wrist as you want the watch to fit.
Measure the face of the watch, in the direction going around your wrist. Take your original wrist measurement and subtract from this the length of the face. Divide this number in half. This is the length that you’ll want to bead out on each side of the face. For example, my wrist is 7”. Subtract the 1.25” watch face, leaving you with 5.75”. Divided in half is just about 2.9 inches. So, the beads on this watch will extend 2.9 inches from the bracket on either side of the watch face.
Take this watch band one strap at a time. Don’t try to feed through all your strands at the beginning or everything will become one tangled mess! Once you’ve beaded out from the center the necessary amount on either side, carefully tie the ends together. Tying elastic string can be a little tricky. Start out with a relatively loose knot. Tighten it up on the second knot, and gently pull the ends several times, tightening the knot further. Add a third knot and repeat the gentle tugging to tighten the string. A dab of E6000 glue will reinforce your knot if you’re worried about it.
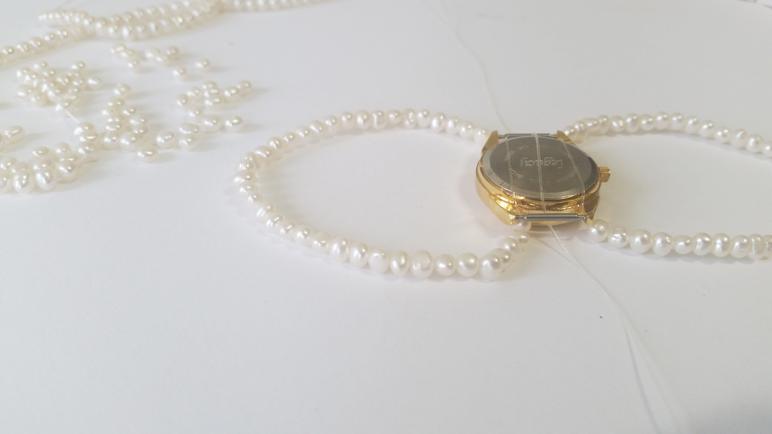
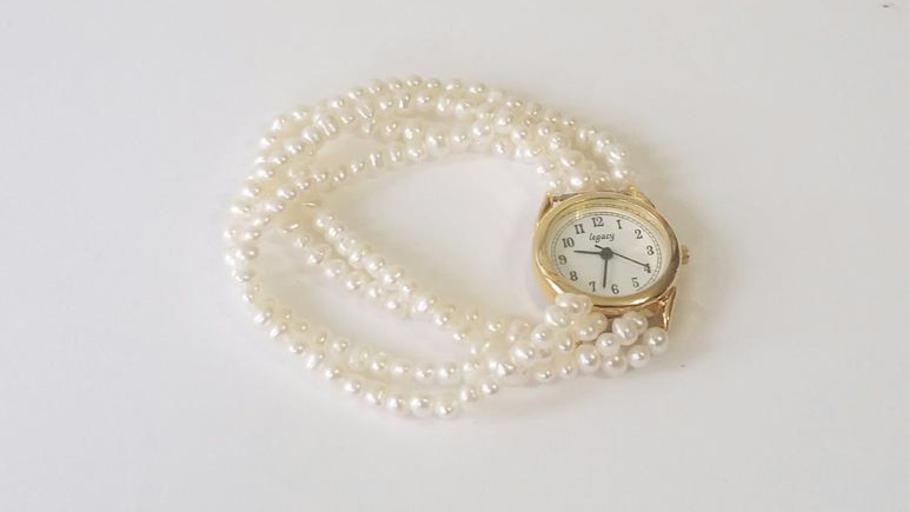
Once you have one band completed, you can lay it off to the side and repeat the process for the next band.
Keep adding bands until you’ve achieved your desired look or filled up the width of the bracket on the watch face.
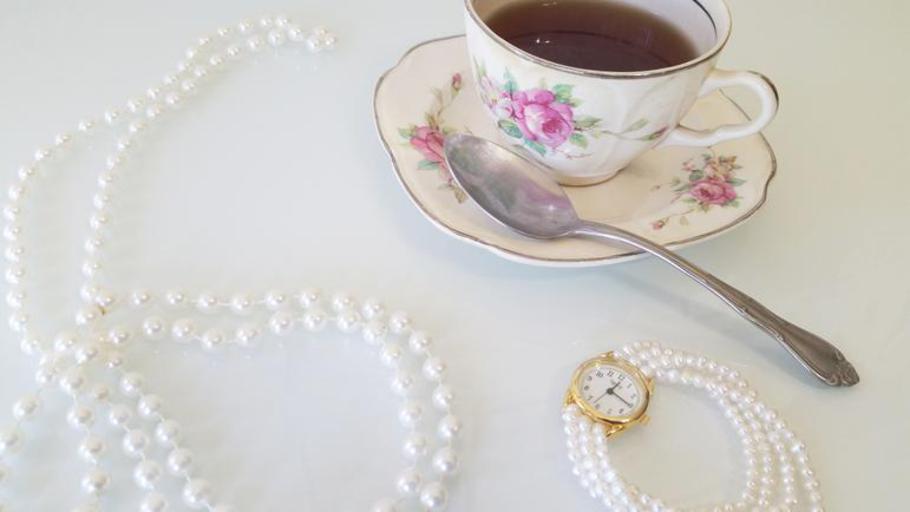

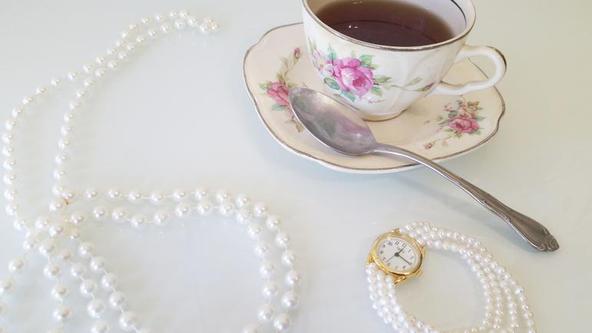
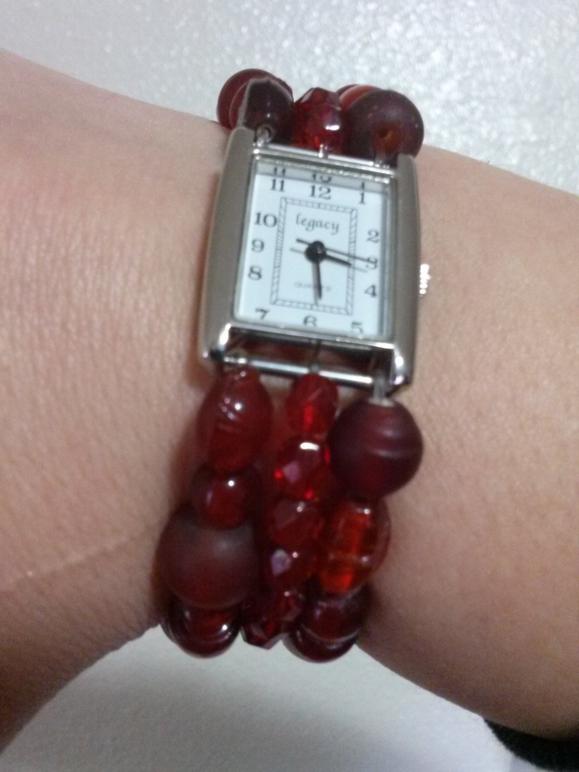
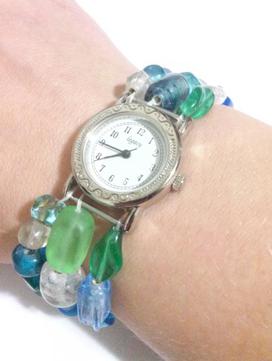
Here are the watches that I shared as gifts a while back. All made the same way, but each very different, just by using different sizes and colors of beads or different faces!

Thank you for stopping by and following my easy beaded watch tutorial! I hope you enjoyed creating your own stylish accessory and found the process as fun and rewarding as I do. I'd love to see your beautiful creations, so be sure to share your beaded watch pictures with us on Instagram and tag us @TSRCrafts