You might
also enjoy...
How to Print and Assemble
your Custom Planner
Put together your own re-fillable binder planner that you can use over and over!
One of the biggest planner/journal questions that I get, it "What is the best way to use printables to create my own planner?"
Personally, my favorite style of journals are the ringed or disc bound kinds that you can easily add to, or move pages around. Why? Because I'm ALWAYS changing and updating my planner!
If you're the type of person who saves all their past planners and journals, this might not be for you. You may prefer a sewn in or spiral bound journal. But if you are looking to create a custom journal that evolves with you and your life, refillable journals are the way to go!
Creating your own custom journal or planner is easy to do, and the best part is, you can make it exactly how you like, so that your planner fits your life, and all the beautiful chaos that includes.
The main things you'll need:
1) A journal
2) Paper or Planner inserts
3) A hole punch for the paper and journal you're using
I've picked out a few of my favorites on Amazon below. These are all different sizes, but they are all the easy-to-use ring style that you can open to add or remove pages from easily!
(Have all your supplies already and just want to learn how to print them to fit your planner? Click here to learn how to print your pages to fit, and to add your size of planner as a print option on your computer so you can print anything to fit in your day planner with just a couple easy clicks!)
Disclaimer: Please note that some of the links in this post may be affiliate links or ads. There is no additional cost to you, but The Scrap Room will earn a small commission should you choose to purchase through those links. Click here for my full disclaimer. Thank you for your support.
Selecting Your Journal
The first question you'll want to ask yourself is WHAT SIZE journal is best for you. Here's a few things to think about when you're deciding what size journal you'll need.
The Doodle Planner Series
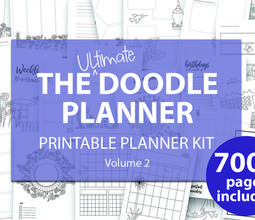
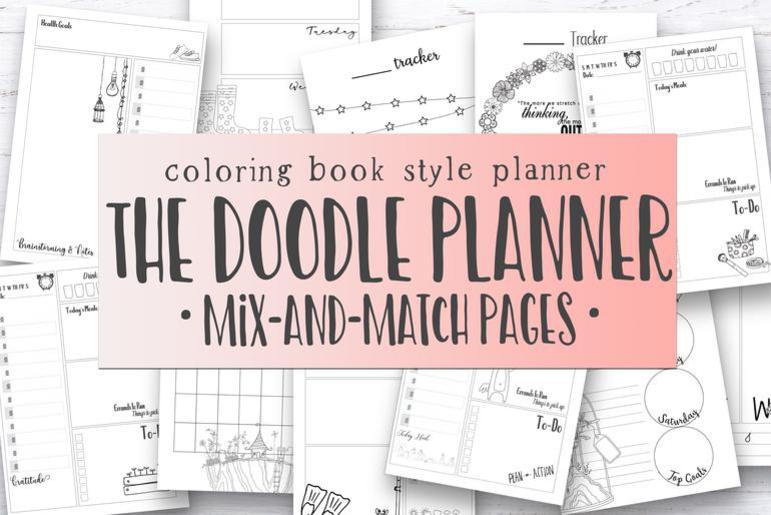
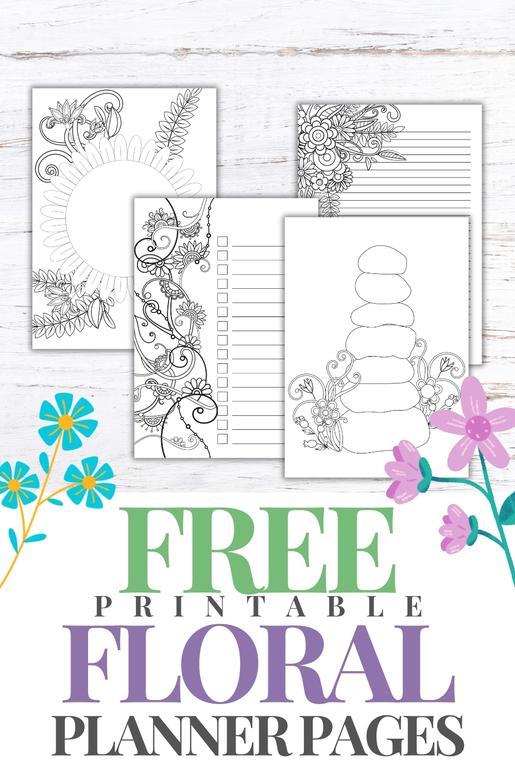
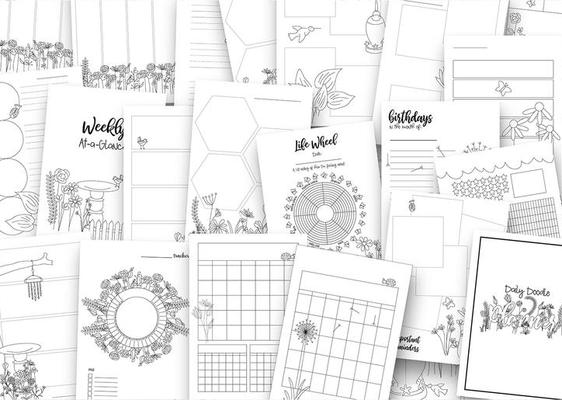
If you're looking for planner pages that you can print out, and COLOR IN, be sure to check out my popular Doodle Planner Series. My Doodle Planner Series Ultimate Bundle Sets are by far the best way to go. They include printables for all sorts of themes, and comes with an enormous variety of designs and layouts to keep you organizing (and COLORING!) for YEARS to come! Even if you've already bought a few sets from the series, this bundle set is a great way to save BIG! Volume 1 contains most of the undated planner sets that were release before 2021. Volume 2 includes all the newest pages. But all are undated, so new or old, there's still plenty of doodles to color in, and lots of use you'll be able to get out of the pages.
Filling Your Planner or Journal with Helpful Layouts to Organize Your Life!
Next is the fun part! Time to organize and fill your planner with fun, helpful layouts that fit your life! This is not just a "planner" you're creating, but an ORGANIZER! You can either create your own, or use pre-made designs. If you're going to use pre-made designs, you'll need to decide what's best for you -- pre-printed pages, or digital designs that you can print out right at home. The nice thing about the pre-printed pages it that they are ready to go -- just add them in and go. But if you have the ability to print your own pages, DIGITAL is the WAY TO GO! You can usually adjust the size to fit multiple different size journals, right off the bat giving you more ways to use the pages. You can also use them OVER AND OVER (and over and over and over) again -- just look for undated pages! HUGE bang for your buck!!!
You can also create your own printable layouts. If you have some templates in your mind that you'd like to use a lot, this is a great option! Especially for monthly calendars, tracking spreadsheets, daily agendas, etc! I'm working on putting together a Beginner's Printable Planner Making class -- make sure you're on my email list if you'd like to hear more about this!
Another great advantage to digital pages (your own, or created by other designers and artists) is that you can use them in DIGITAL planner programs like Goodnotes, OneNote and more, making it easy to go completely paperless in your planning! For more info about DIGITAL PLANNERS click here.
Printing Digital Pages
I mentioned this above, but I'm going to say it again:
You can re-size just about ANY digital planner page.
You may end up with a little extra border space, but that's no biggie! I'm sure there's SOMETHING you can designate the space for, right?...what about a happy, positive "quote of the day"?
To print your journal printables, open up the design, go to "PRINT", then simply select the size of paper you want to you, and choose the "FIT TO PAGE" option, which may be under a borders section or tab. Your printer should automatically adjust things to fit the size paper you're using! Easy peasy! (Note: If your print preview gets stuck and doesn't update, don't worry, if your settings are right, it should still print correctly. You can force it to refresh the preview by changing the print range though. Just remember to change it back to the actual range you'd like to print before hitting that "print" button.)
If you don't see your planner or journal size as a print option on your computer, you'll definitely want to add it! It will make it super easy to print just about anything to fit your planner, and it's only a few steps to set up. I'll walk you through it, with full detailed print instructions, click here.
Don't forget DIVIDERS
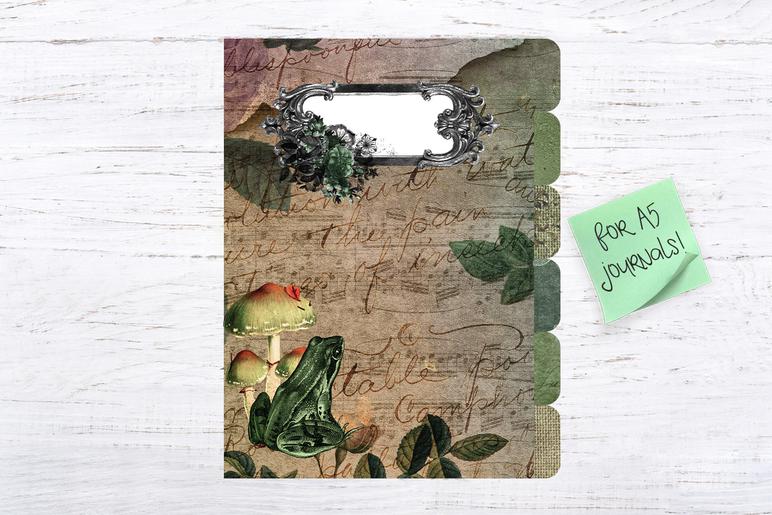
Once you've got your journal pages picked out, you're going to want a way to keep them all organized and easy to find! Dividers are a great way to do this! You can print or make your own, or purchase some that are ready to go. If you're going to print them out at home, I recommend using a little bit thicker paper, like a white cardstock, so that the pages are more sturdy than regular printer paper. Also, if you're going to print them out at home, be aware of how wide they are, and if they can even BE printed out on your printer. You may need to run to your local print shop, or order them online if you need something wider than your printer is able to do. A5 journals are a really popular size and are just small enough that you can print out dividers for them on US Letter sized paper, so if you would LIKE to do this, and are still picking out the size journal you'd like to use, you may take this into consideration. A5 journals are EASY to print out at home and are a nice convenient size for taking on the go, as they'll fit in most medium and large purses/bags.
We offer several different digital / printable divider sets and templates in our shop. Some are designed for cutting out on SVG or EPS friendly cutting machines, and others are designed to print and cut by hand. I definitely recommend using heavier paper, such as cardstock, for the divider pages. This will make them more durable so they'll hold up to more wear and tear! If you use an A5 planner and have a cutting machine, or want to cut by hand, this set of A5 Pocket Divider templates includes a pocket design to hold extras, like sticker sheets, receipts, notes and more.
There are also tons of cute, ready-to-use dividers that are available in other stores and online. I really like the plastic PVC type. They are super durable and hold up to lots of heavy use! But the print at home/DIY kind are fun too! If you're like me, you'll have lots of fun changing them up from time to time. Yet ANOTHER perk for the "Ringed Binder" style! ;)
Are you purchasing printables to use? Or creating your own pages?
If you're creating your own pages, this isn't a big deal because you can make your pages however you want! You can put as many or as few sections on each page, making them as large or as small as you like! You might want to look at some dot grid or graph paper instead of just purchasing plain paper though. The dots and lines will help you to draw straighter lines and shapes quickly and with ease!
Printable digital layouts can be a little more tricky though. Not all purchased printables may not be formatted to fit in every size of journal. Some layouts may not work well as small pages, cramming too much stuff in an impossible small space, and others can be hard to "fill up" if they're too big, thus becoming a waste of paper.
If you have your heart set on a specific planner line, you might want to purchase a journal to fit the pages instead of the other way around!
Do you need a lot of space?
Do you plan to write or track a lot every day? How many "sections" will you need on each page? If you plan to use a lot of different sections to track and plan your daily life, it might get hard to read if the pages are too small! Also, if you're putting a lot of information into a tiny journal, that journal is going to get filled up pretty quickly, which means you'll need to remove pages to make more space sooner, or retire the journal! If you like to write a lot, track a ton of stuff each day, or keep a super detailed schedule, a larger journal might work better for you.
Some people actually find it's easier for them to keep TWO journals simultaneously. Crazy? Not really!!! You might find there's a lot of stuff you use throughout the day, like your agenda, notes, food or water trackers, etc. But there's also a lot of stuff you'll only need to access just once a day, a few times a week, or even less! Some times it's easier to store things like bill and budget info, house maintenance and cleaning, bucket lists, certain to-do lists and other things in a larger, less portable journal. For that, multiple journals, maybe even of different sizes may be useful!
If you've purchased any of our planner printables however, you can print them on just about ANY SIZE OF VERTICAL PAPER. Just select your paper size when printing, then click on the "FIT TO PAGE" sizing option in the printer settings window, and the pages should adjust to fit. I have specifically formatted my pages to work well this way, so they can be used easily, in many different journals.
Where do you plan to use it?
If you plan to carry it around with you, you'll want to check the dimensions on your purse or bag you intend to carry it in! Will it fit? A5 journals are very popular for this very reason. At 148 × 210 millimeters or 5.83 × 8.27 inches, there're about half the size of a piece of US Letter sized paper. They're also VERY EASY TO PRINT, since the pages, even dividers, are small enough to print on most standard sized home printers.
Personally, I use a US Letter journal for most things, and it stays at home. But I do also keep a smaller A5 with me that keeps my schedule organized on the go.
Some of the most popular journal sizes are:
A4 – 210 x 297 mm (Approx. 8¼ x 11¾ in)
B5 – 176 x 250 mm (Approx. 7 x 10 in)
A5 – 148 x 210 mm (Approx. 6 x 8¼ in)
Cahier – 148 x 210 mm (Approx. 5 x 8¼ in)
B6 – 125 x 176 mm (Approx. 5 x 7 in)
A6 – 105 x 148 mm (Approx. 4 x 6 in)
B7 / Passport – 88 x 125 mm (Approx. 3½ x 5 in)
A7 / Micro – 74 x 105 mm (Approx. 3 x 4 in)
Happy Planning!!!
There's something so therapeutic about setting up an organizer, am I right?! Have fun setting up your planner in a way that works best for you, then use the crap out of it! Keeping a planner will help you set goals and work towards them every day by keeping you focused and motivated!
Need to get some colorful pens to use in your planner or journal? These are MY personal favorite! They work awesome, don't bleed through my journal pages (regular printer paper) and are really inexpensive!
Next, Choose the STYLE
If you're creating a REFILLABLE PLANNER, the two most common planner styles that you'll find people using are the RINGED BINDER style planner and the DISC BOUND PLANNER.
The RINGED BINDER works just like your old school 3 ring binder -- you may even choose to use a standard 3 ring! Nowadays there are loads of pretty ringed planners out there, so you can get something elegant, fun, simple -- whatever you like! Just remember to get a hole punch to match! Here's my favorite A5 hole punch on Amazon.
The DISC BOUND PLANNERS have really been growing in popularity! Remember the ol' Rolodex? It works similar to that! But in a journal, not a bulky box sitting on your desk. You'll definitely need a special hole punch for these, but the unique holes that are punched allow the paper to pop right in to the binding. It's so easy! The hole's special design will hold the paper in place so nothing falls out. You can purchase a ready-made discbound notebook, or you can create your own using covers and discs.
The Watercolor Planner Series
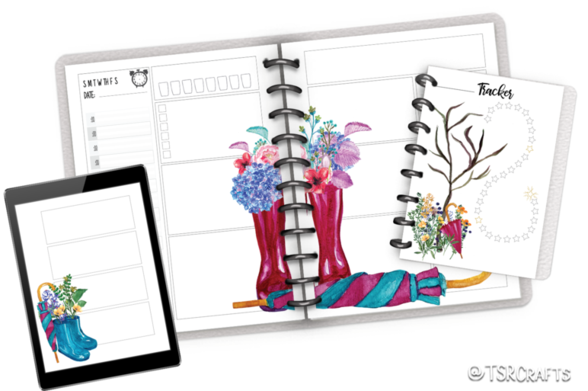
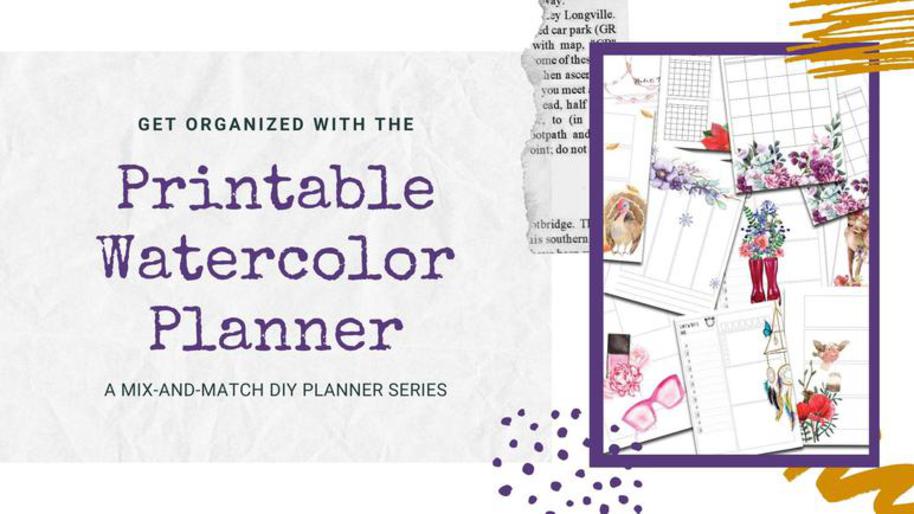
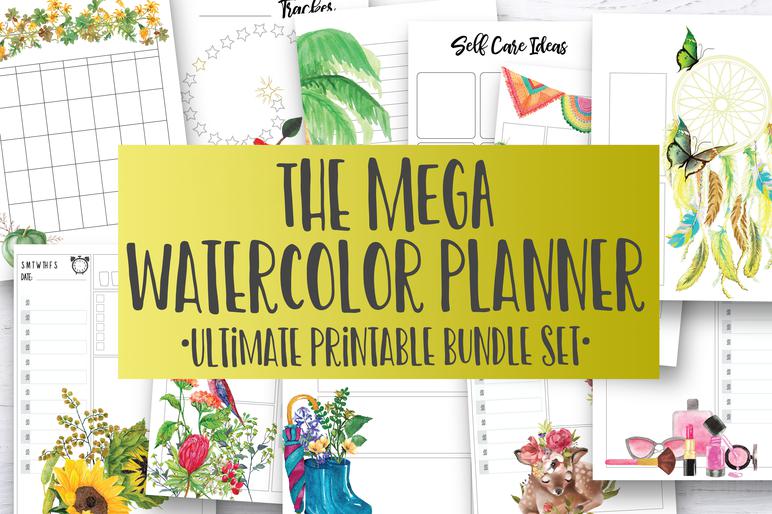
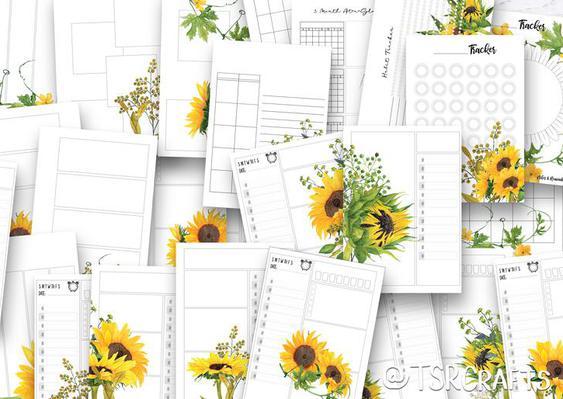
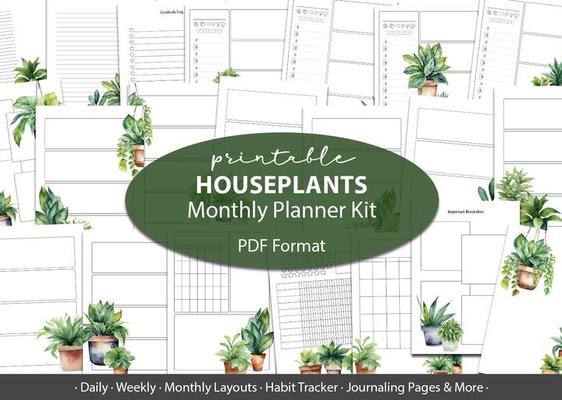
Need some helpful planner pages that are all ready to go? No coloring in needed? Check out my Watercolor Planner series. Each 25 page edition comes with Daily, Weekly and Monthly designs, plus trackers, a lined journaling page and a bonus special design!
If you haven't already signed up for my 12 page FREE SAMPLE from The Watercolor Planner series, get it here.
This series is so much fun with all it's different themed sets! You can pick up TWENTY FIVE of the sets in my MEGA Watercolor Planner Bundle for one low price with *this* special offer. ;)
Learn how to add TEXT to any PDF in Adobe Acrobat.
Click above to watch the video.
